
Building a Counterflow Wort Chiller
I started homebrewing about 8 years ago, and since then I’ve steadily upgraded my brewing setup, recently I finally got around to adding a ball valve to my kettle and went to brew a batch only to realize that my wort chiller had super oxidized and I didn’t want to deal with it!
So I decided he, what a good chance to build a new one! It turned out to be pretty inexpensive to build one.
Parts List ~$40:
- 2x 1/2” ID Barb x 1/2” MIP Brass Adapter
- 2x 1/2” FIP Brass Tee
- 1x 3/4” Female Garden Hose x 1/2” MIP Brass Adapter
- 1x 3/4” Male Garden Hose x 1/2” MIP Brass Adapter
- 1x 20’ x 3/8” copper tube
- 1x 25’ Garden Hose
- 1x Package of JB Weld
Tools:
- Drill with 3/8” bit
- Copper Pipe Cutter
- Corny Keg
Steps:
- Trim the hose to about 19’.
- Straighten the copper tube.
- Feed the copper through hose.
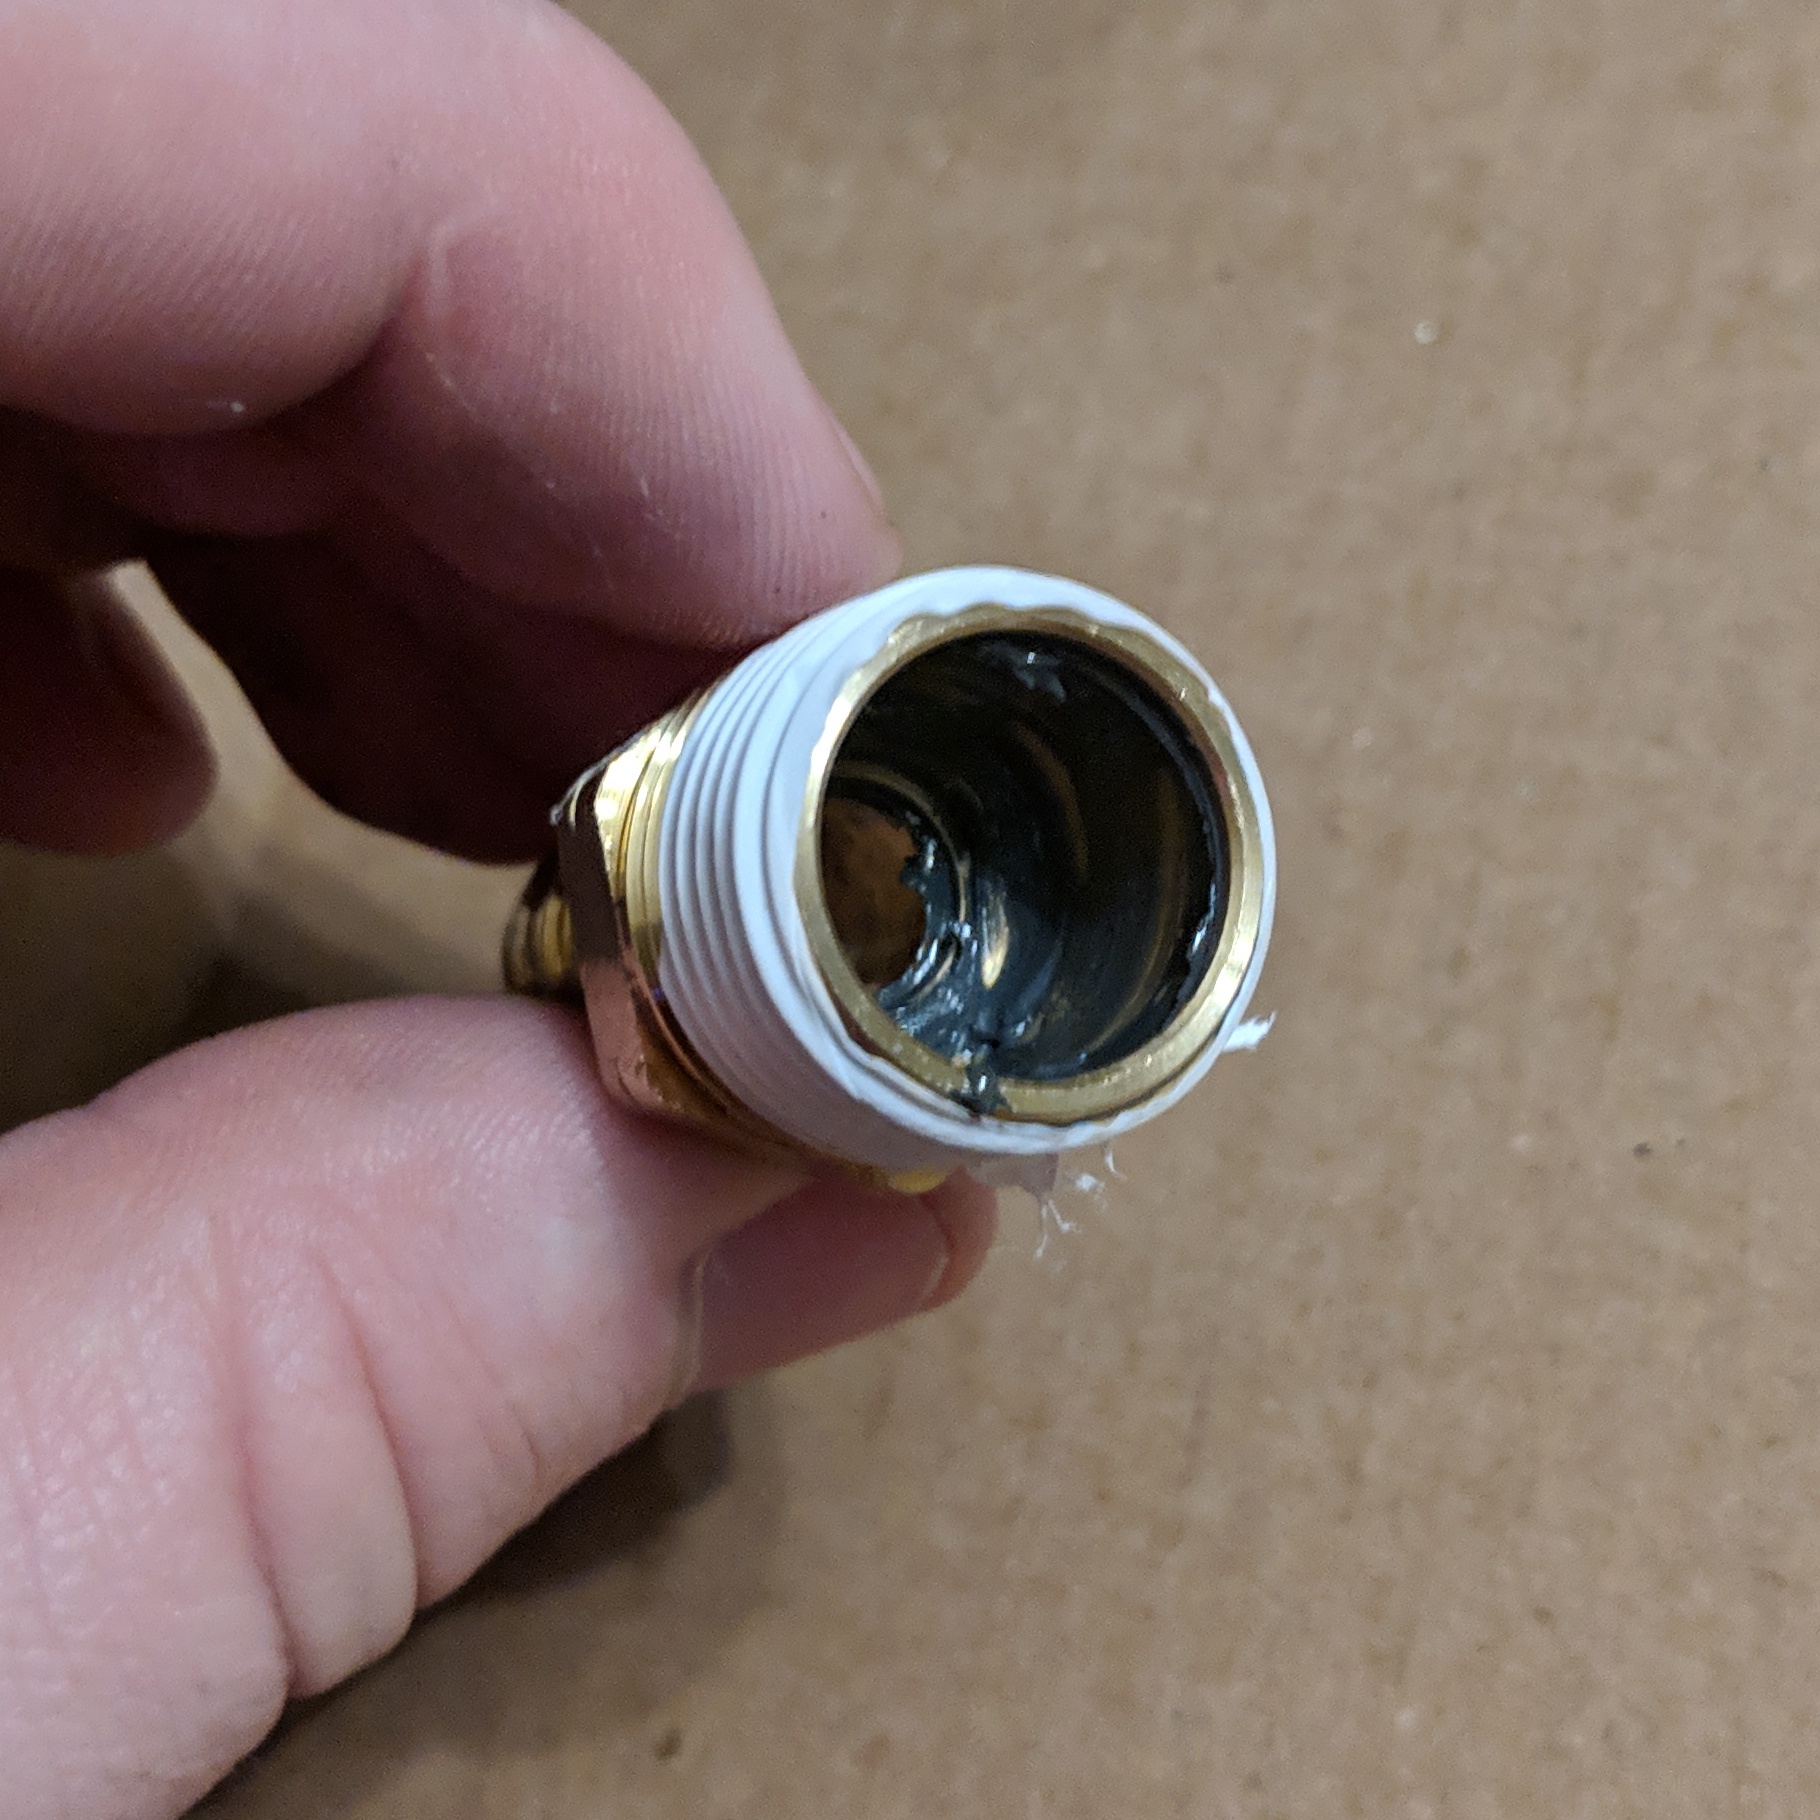
- Drill out the inside of the barbed adapter with a 3/8” drill bit.
- Coil the hose around a corny keg.
- Make sure there are at least 6 inches of brass pipe at each end of the hose.
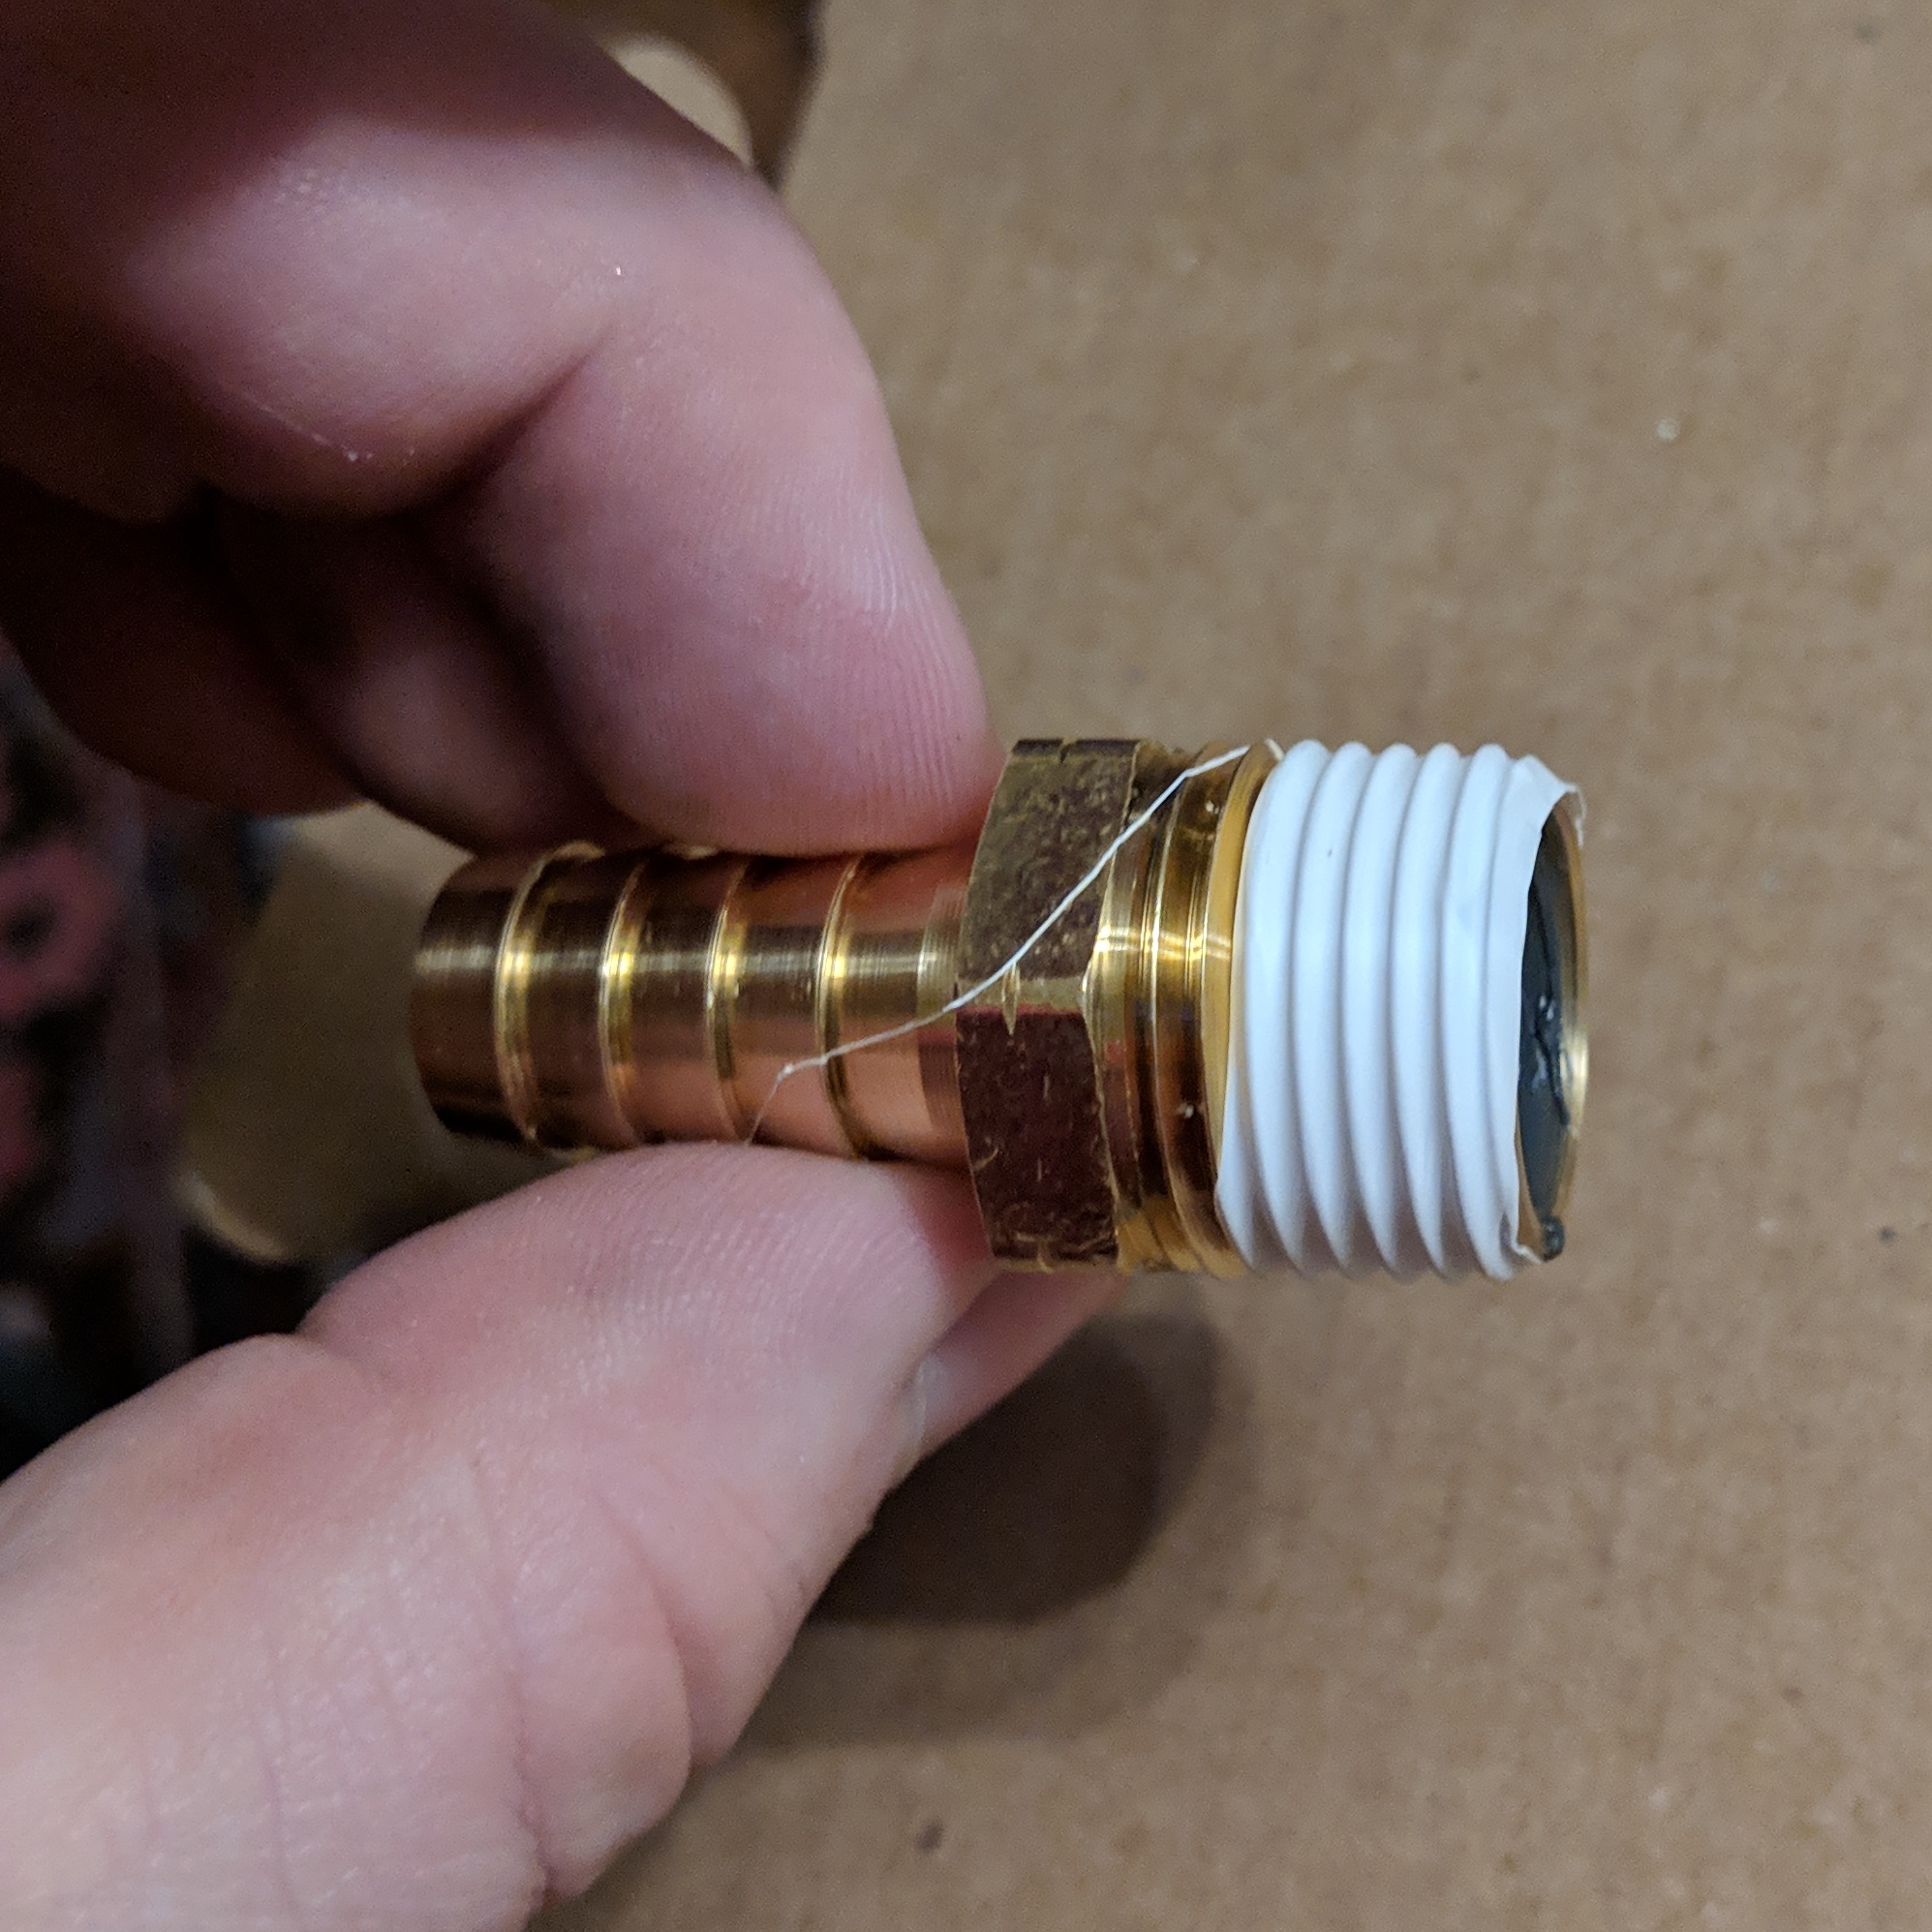
- Put a 1/4” bead of JB Weld at each end of the hose and fit a brass Tee at each end over the hose with the JB Weld. (Don’t add the barbed fitting yet, I did stuff in a bad order.)

- Put a bead of JB Weld on the inside of the Brass Barb and thread tape on the threads, then fit the barb over the copper pipe and screw it in to the Tee.
- Let the JB Weld Cure over night.
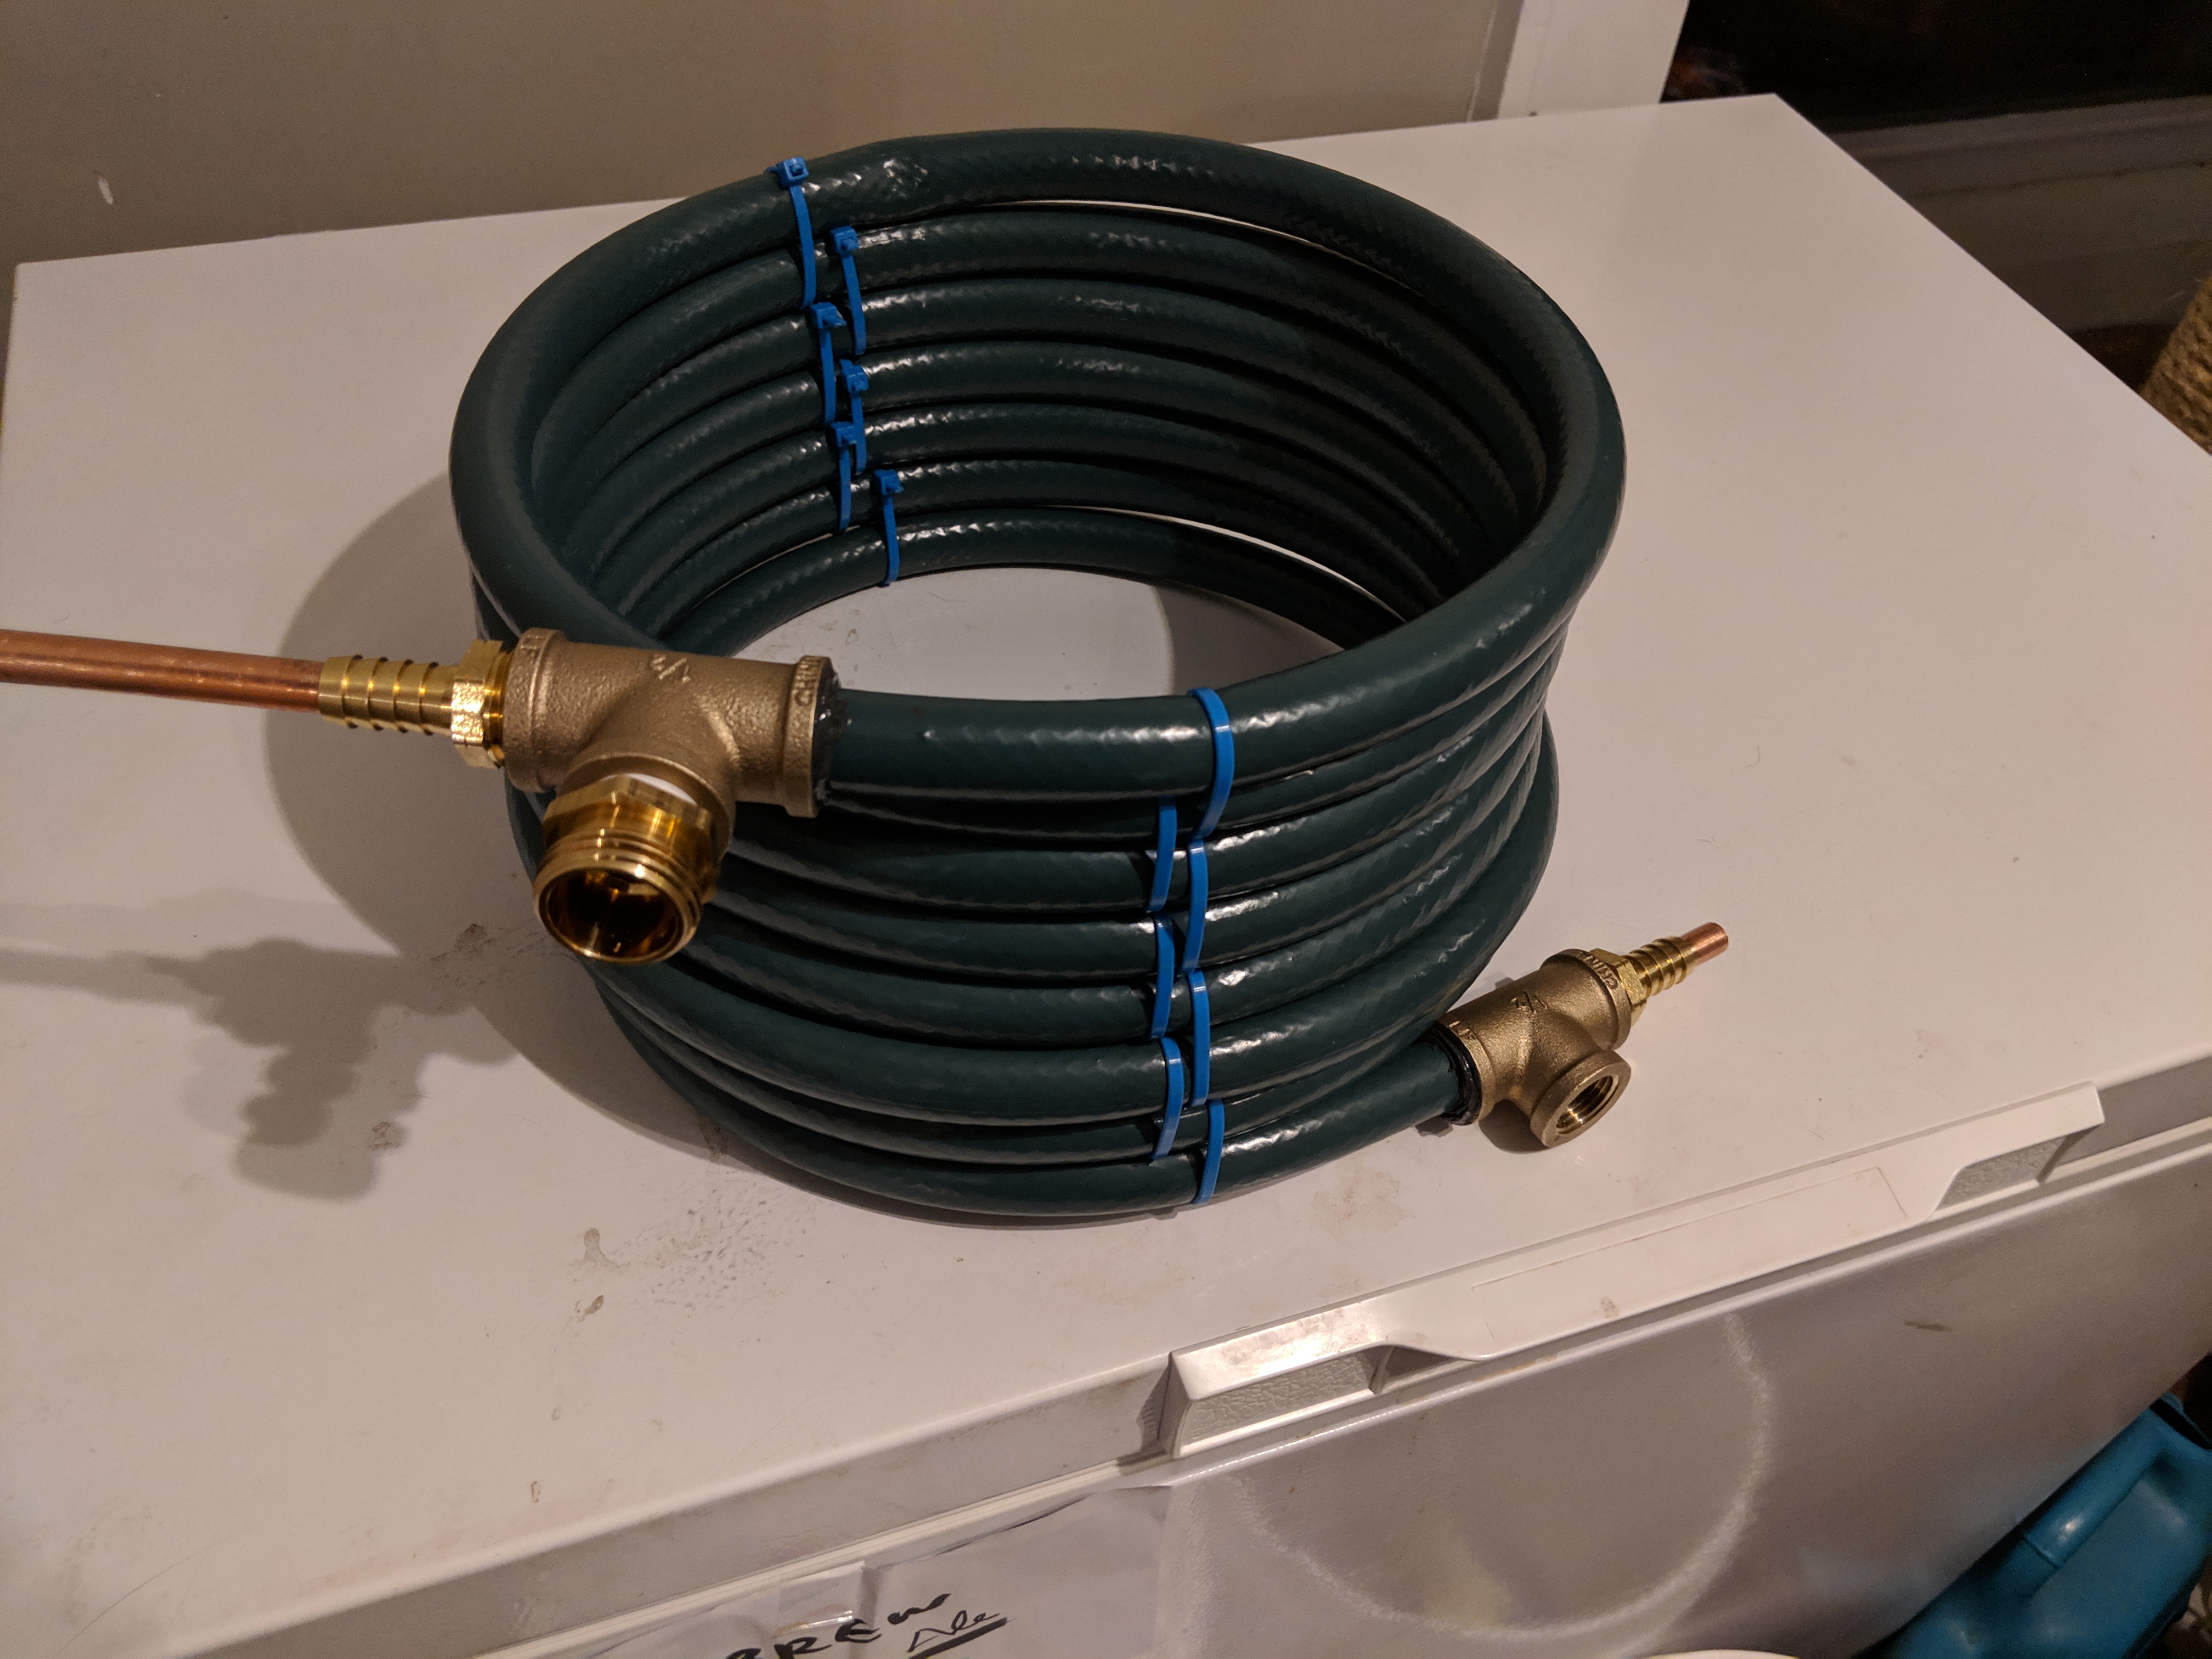
- Put thread tape on the threads of the hose adapters and add them to the Tees at the end of the hose.
- Wait at least 15 Hours after applying the JB Weld before using it the first time so the JB Weld has time to cure entirely.