
Building a Game Table
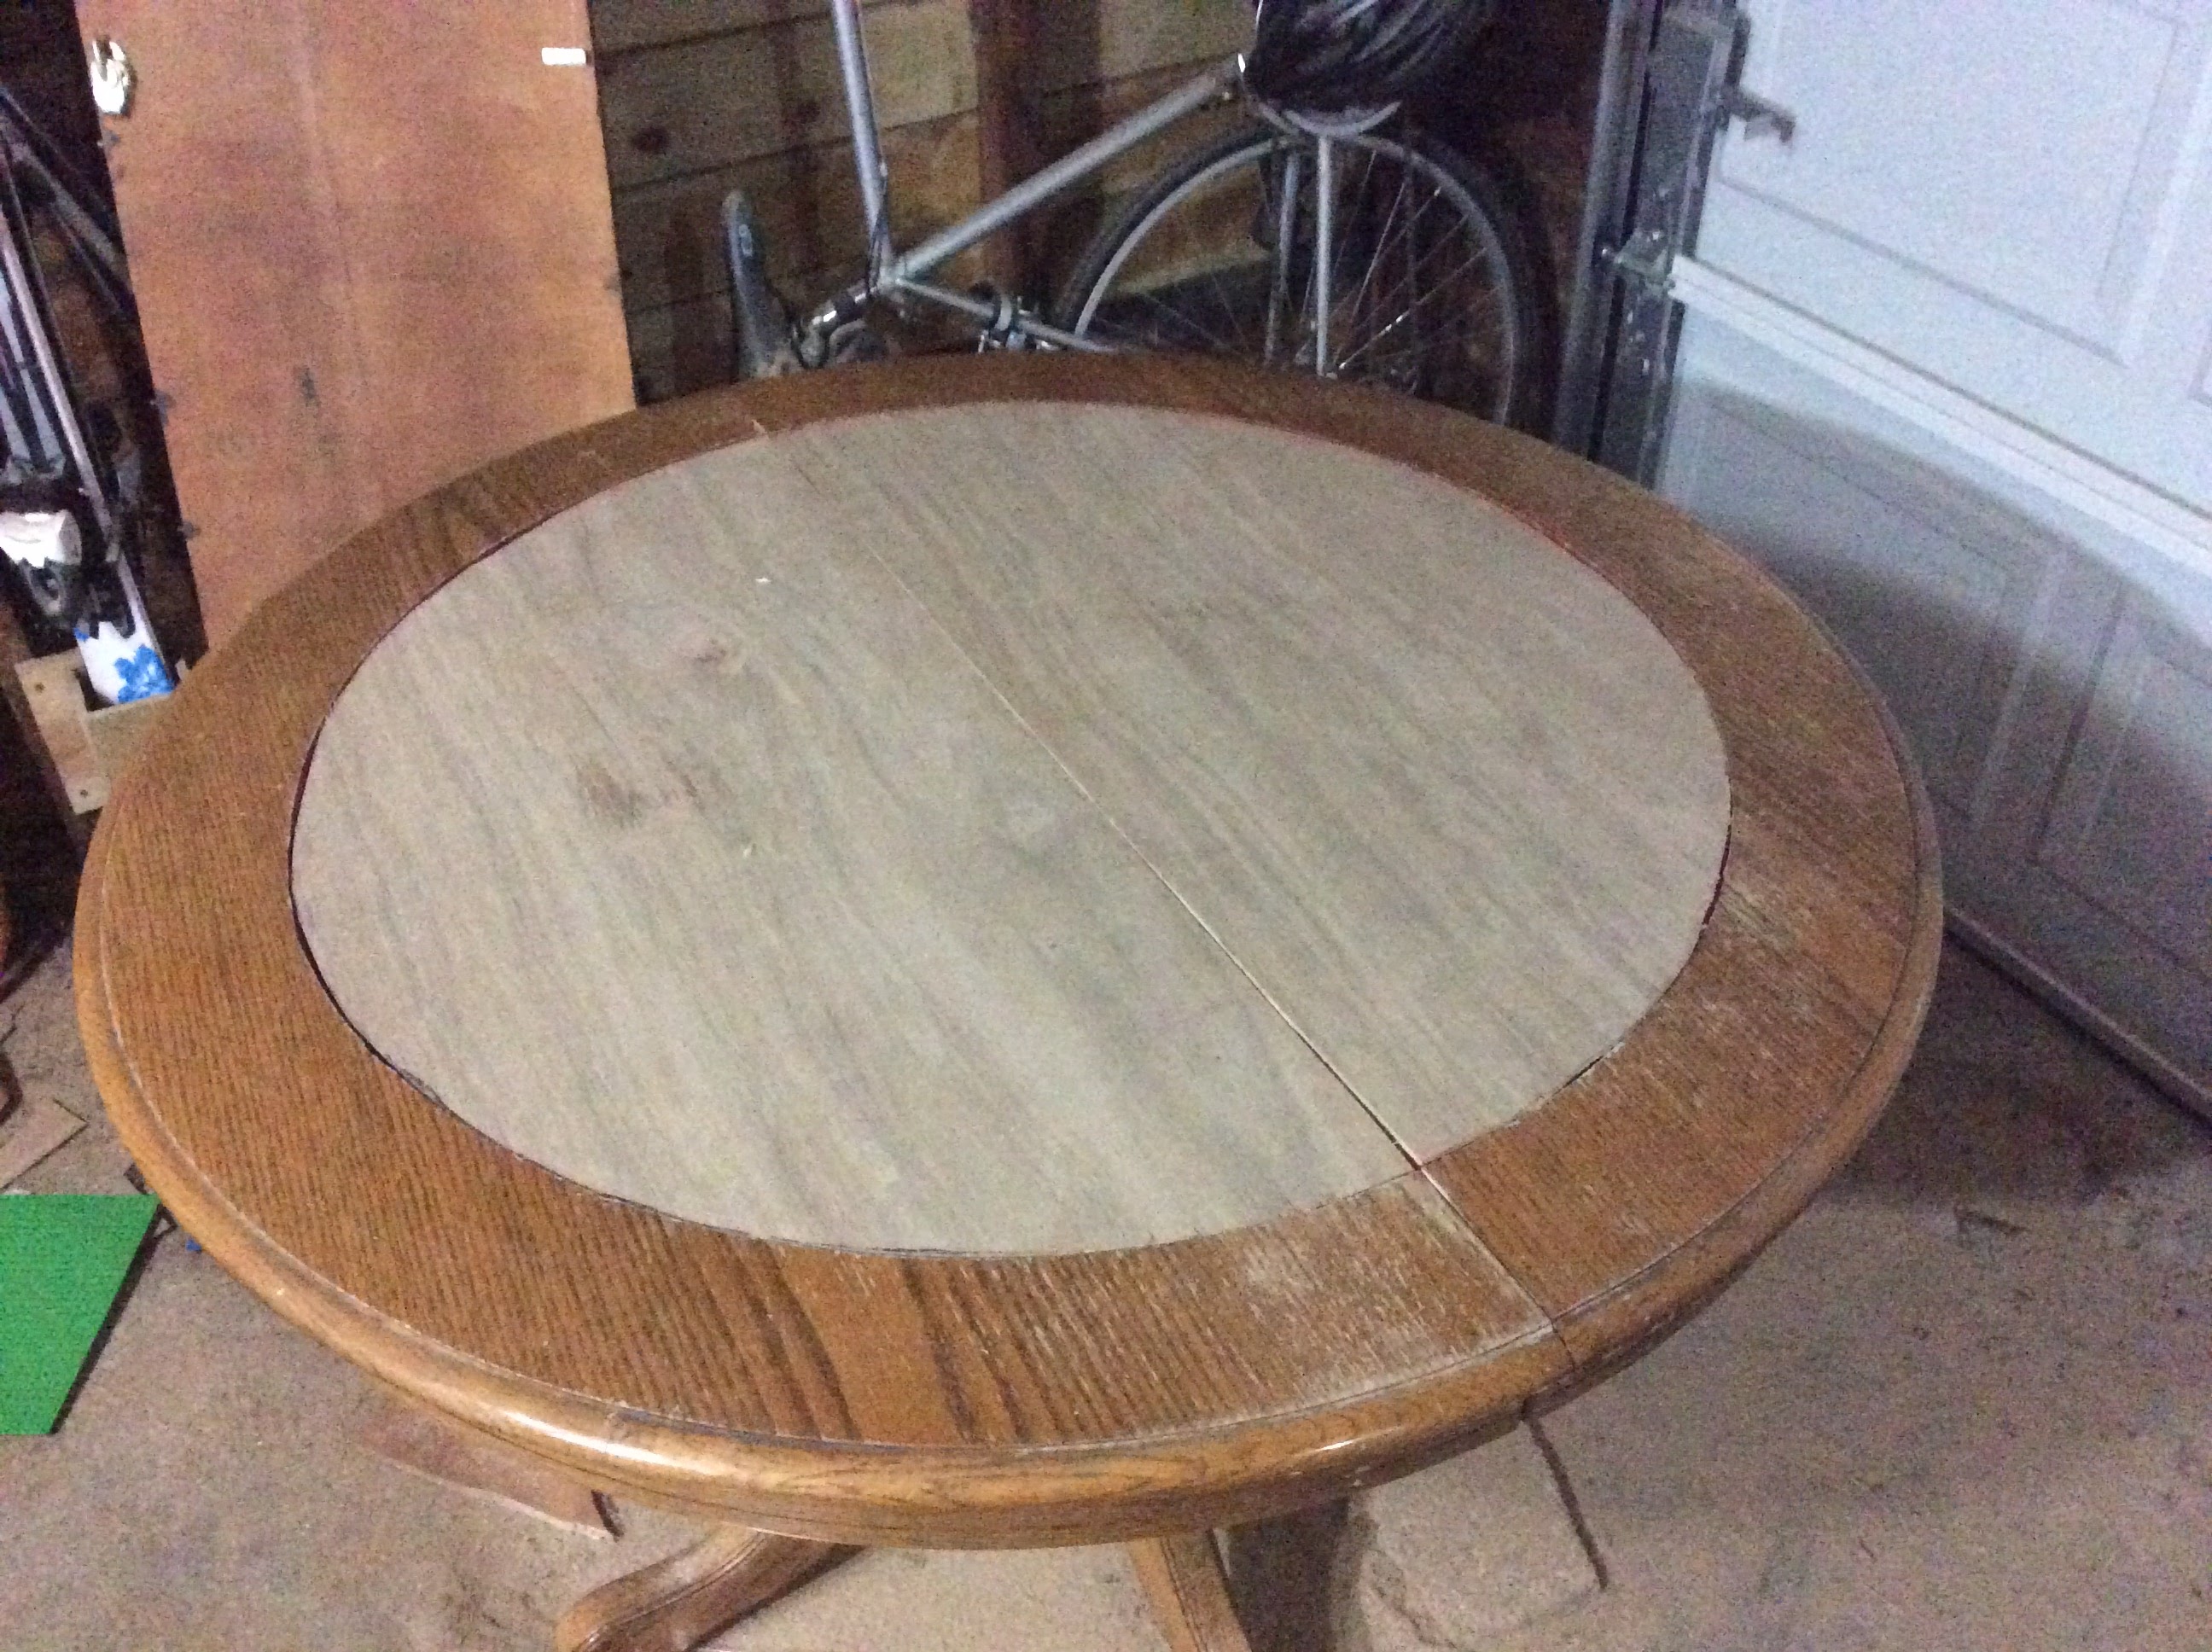
There’s something I’ve always wanted. I’ve wanted a good table for playing board games, card games, miniatures, and table top games. Now, I’m kind of in luck. The other day Courtney found some chairs that she really wanted for our dining room on craigslist. However, the chairs came with a table in less than ideal shape. She didn’t really want the table that much, so I seized on the opportunity.
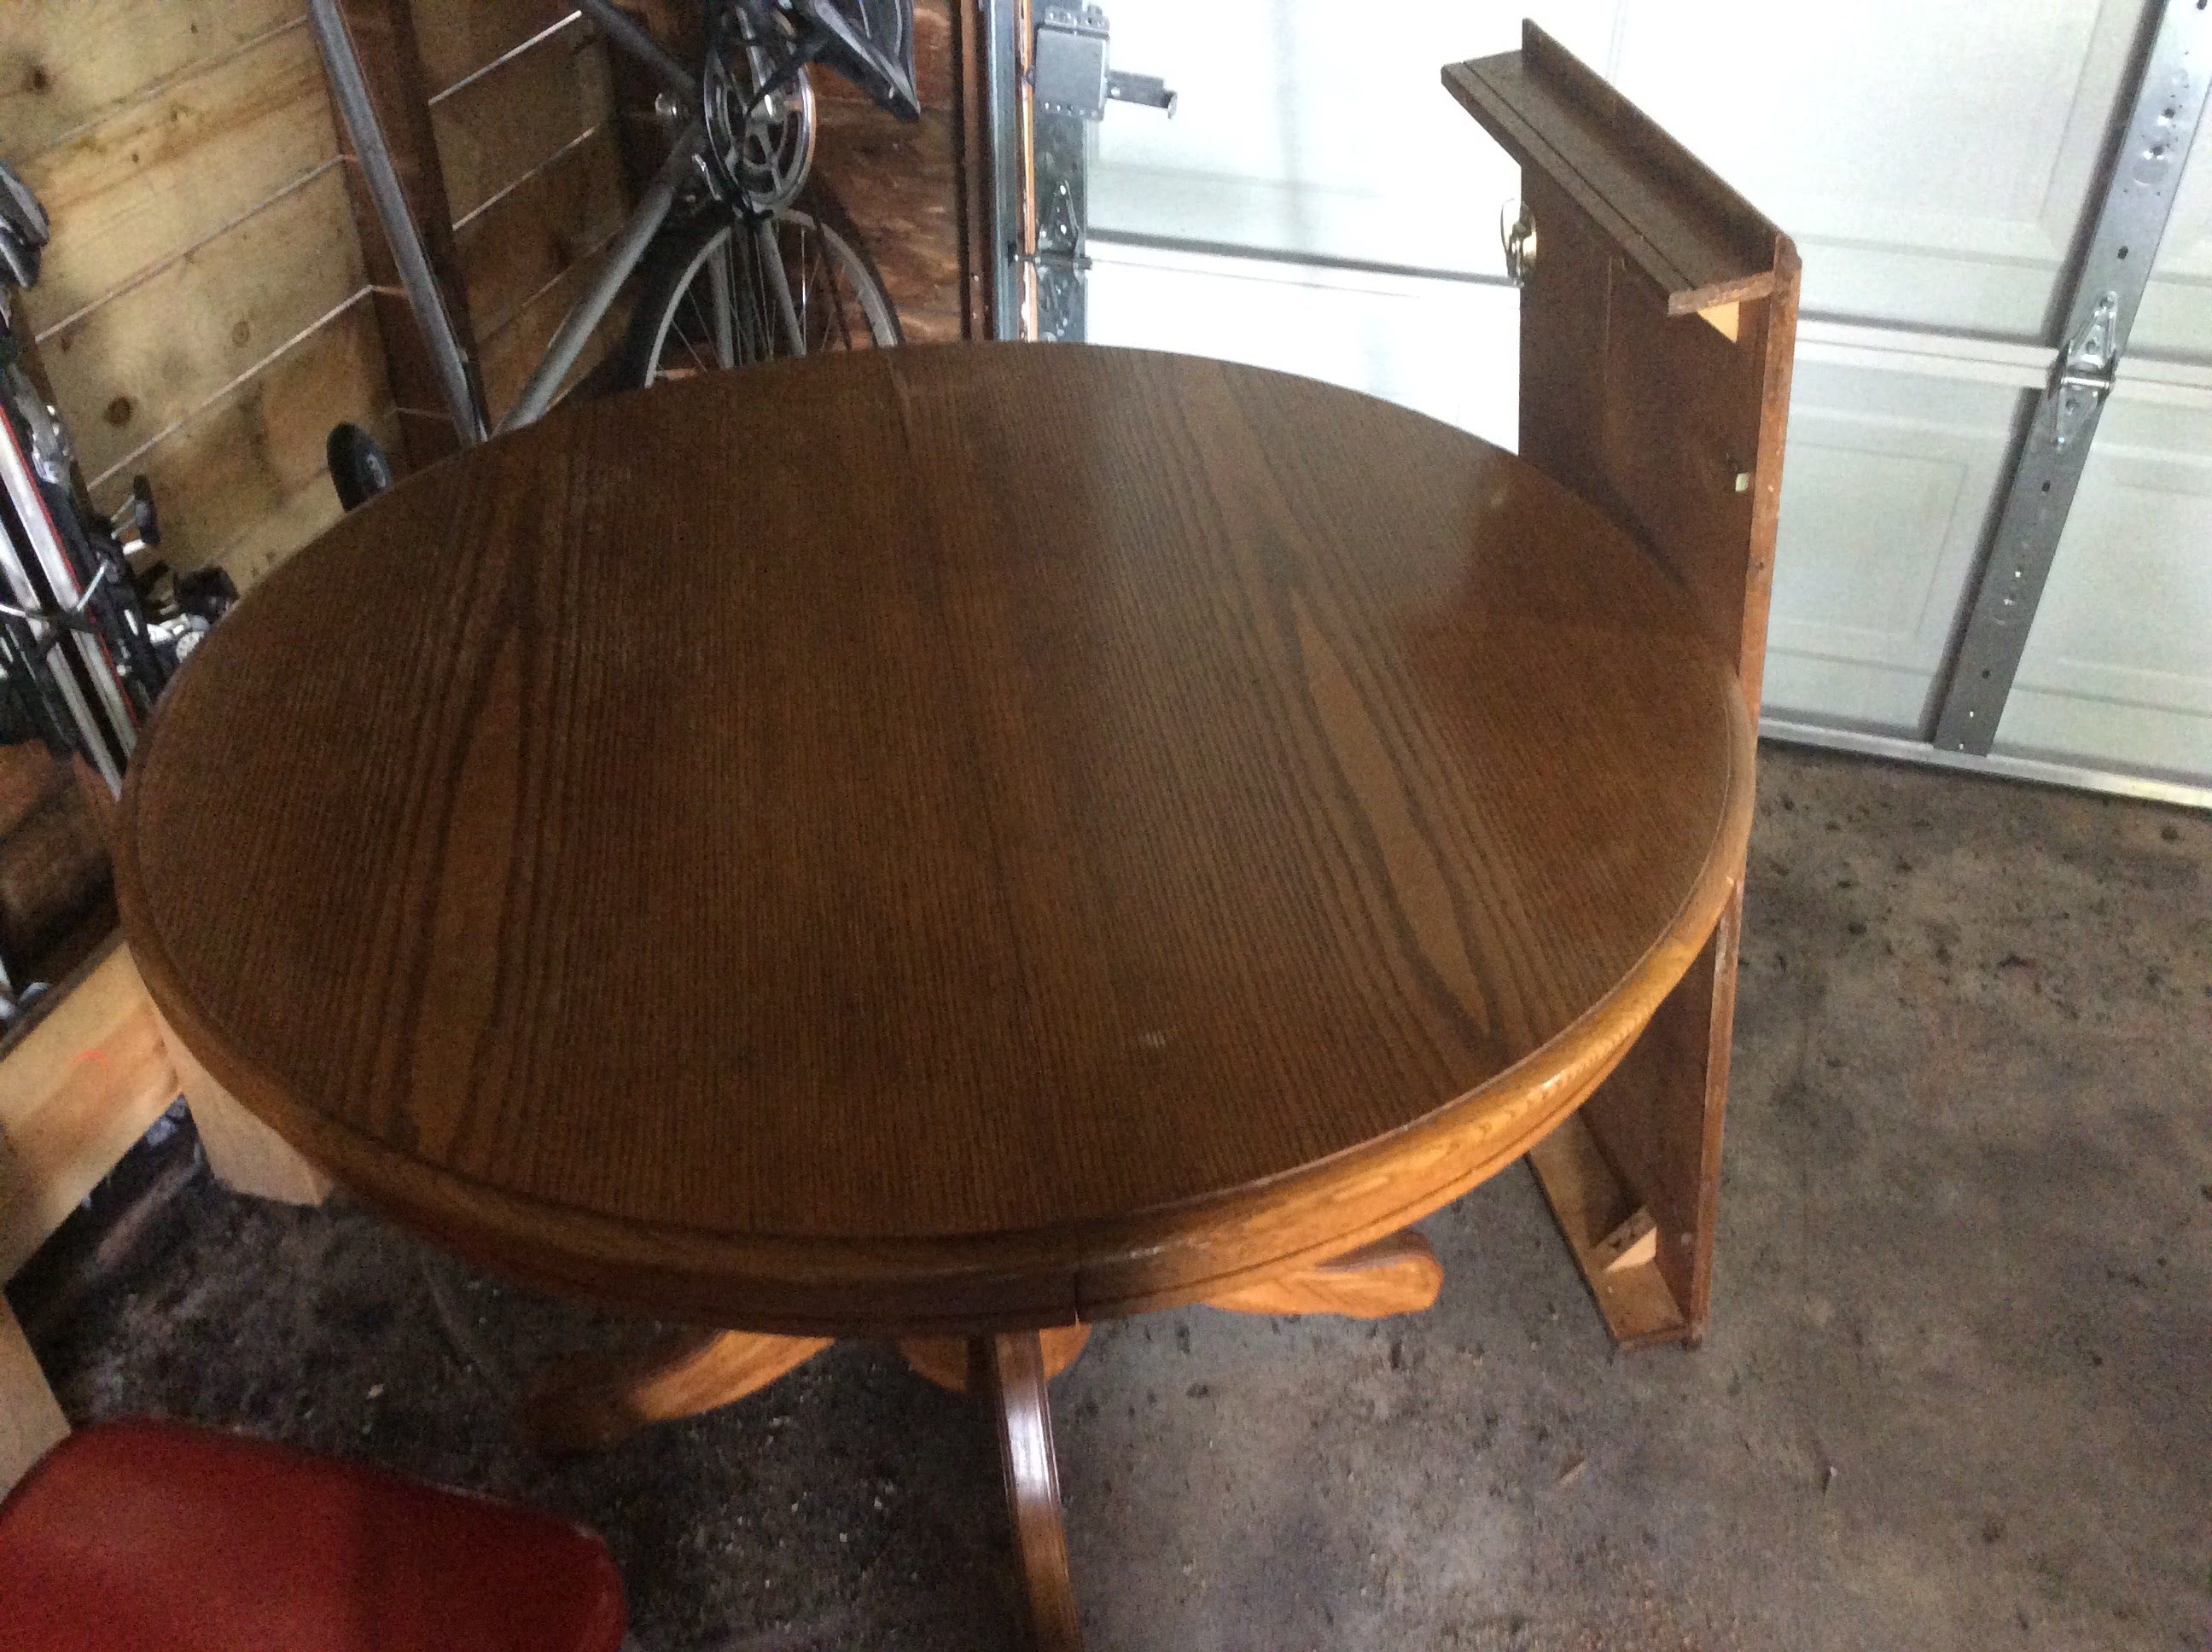 That was when I realized that I could do so much more than some plain old table covered with felt. I could make something really special. That was when I found out that you can order off brand lego base plates on the cheap. So I’ve got some lego base plates, and a table, and a router, and a bunch of felt.
Here goes nothing!
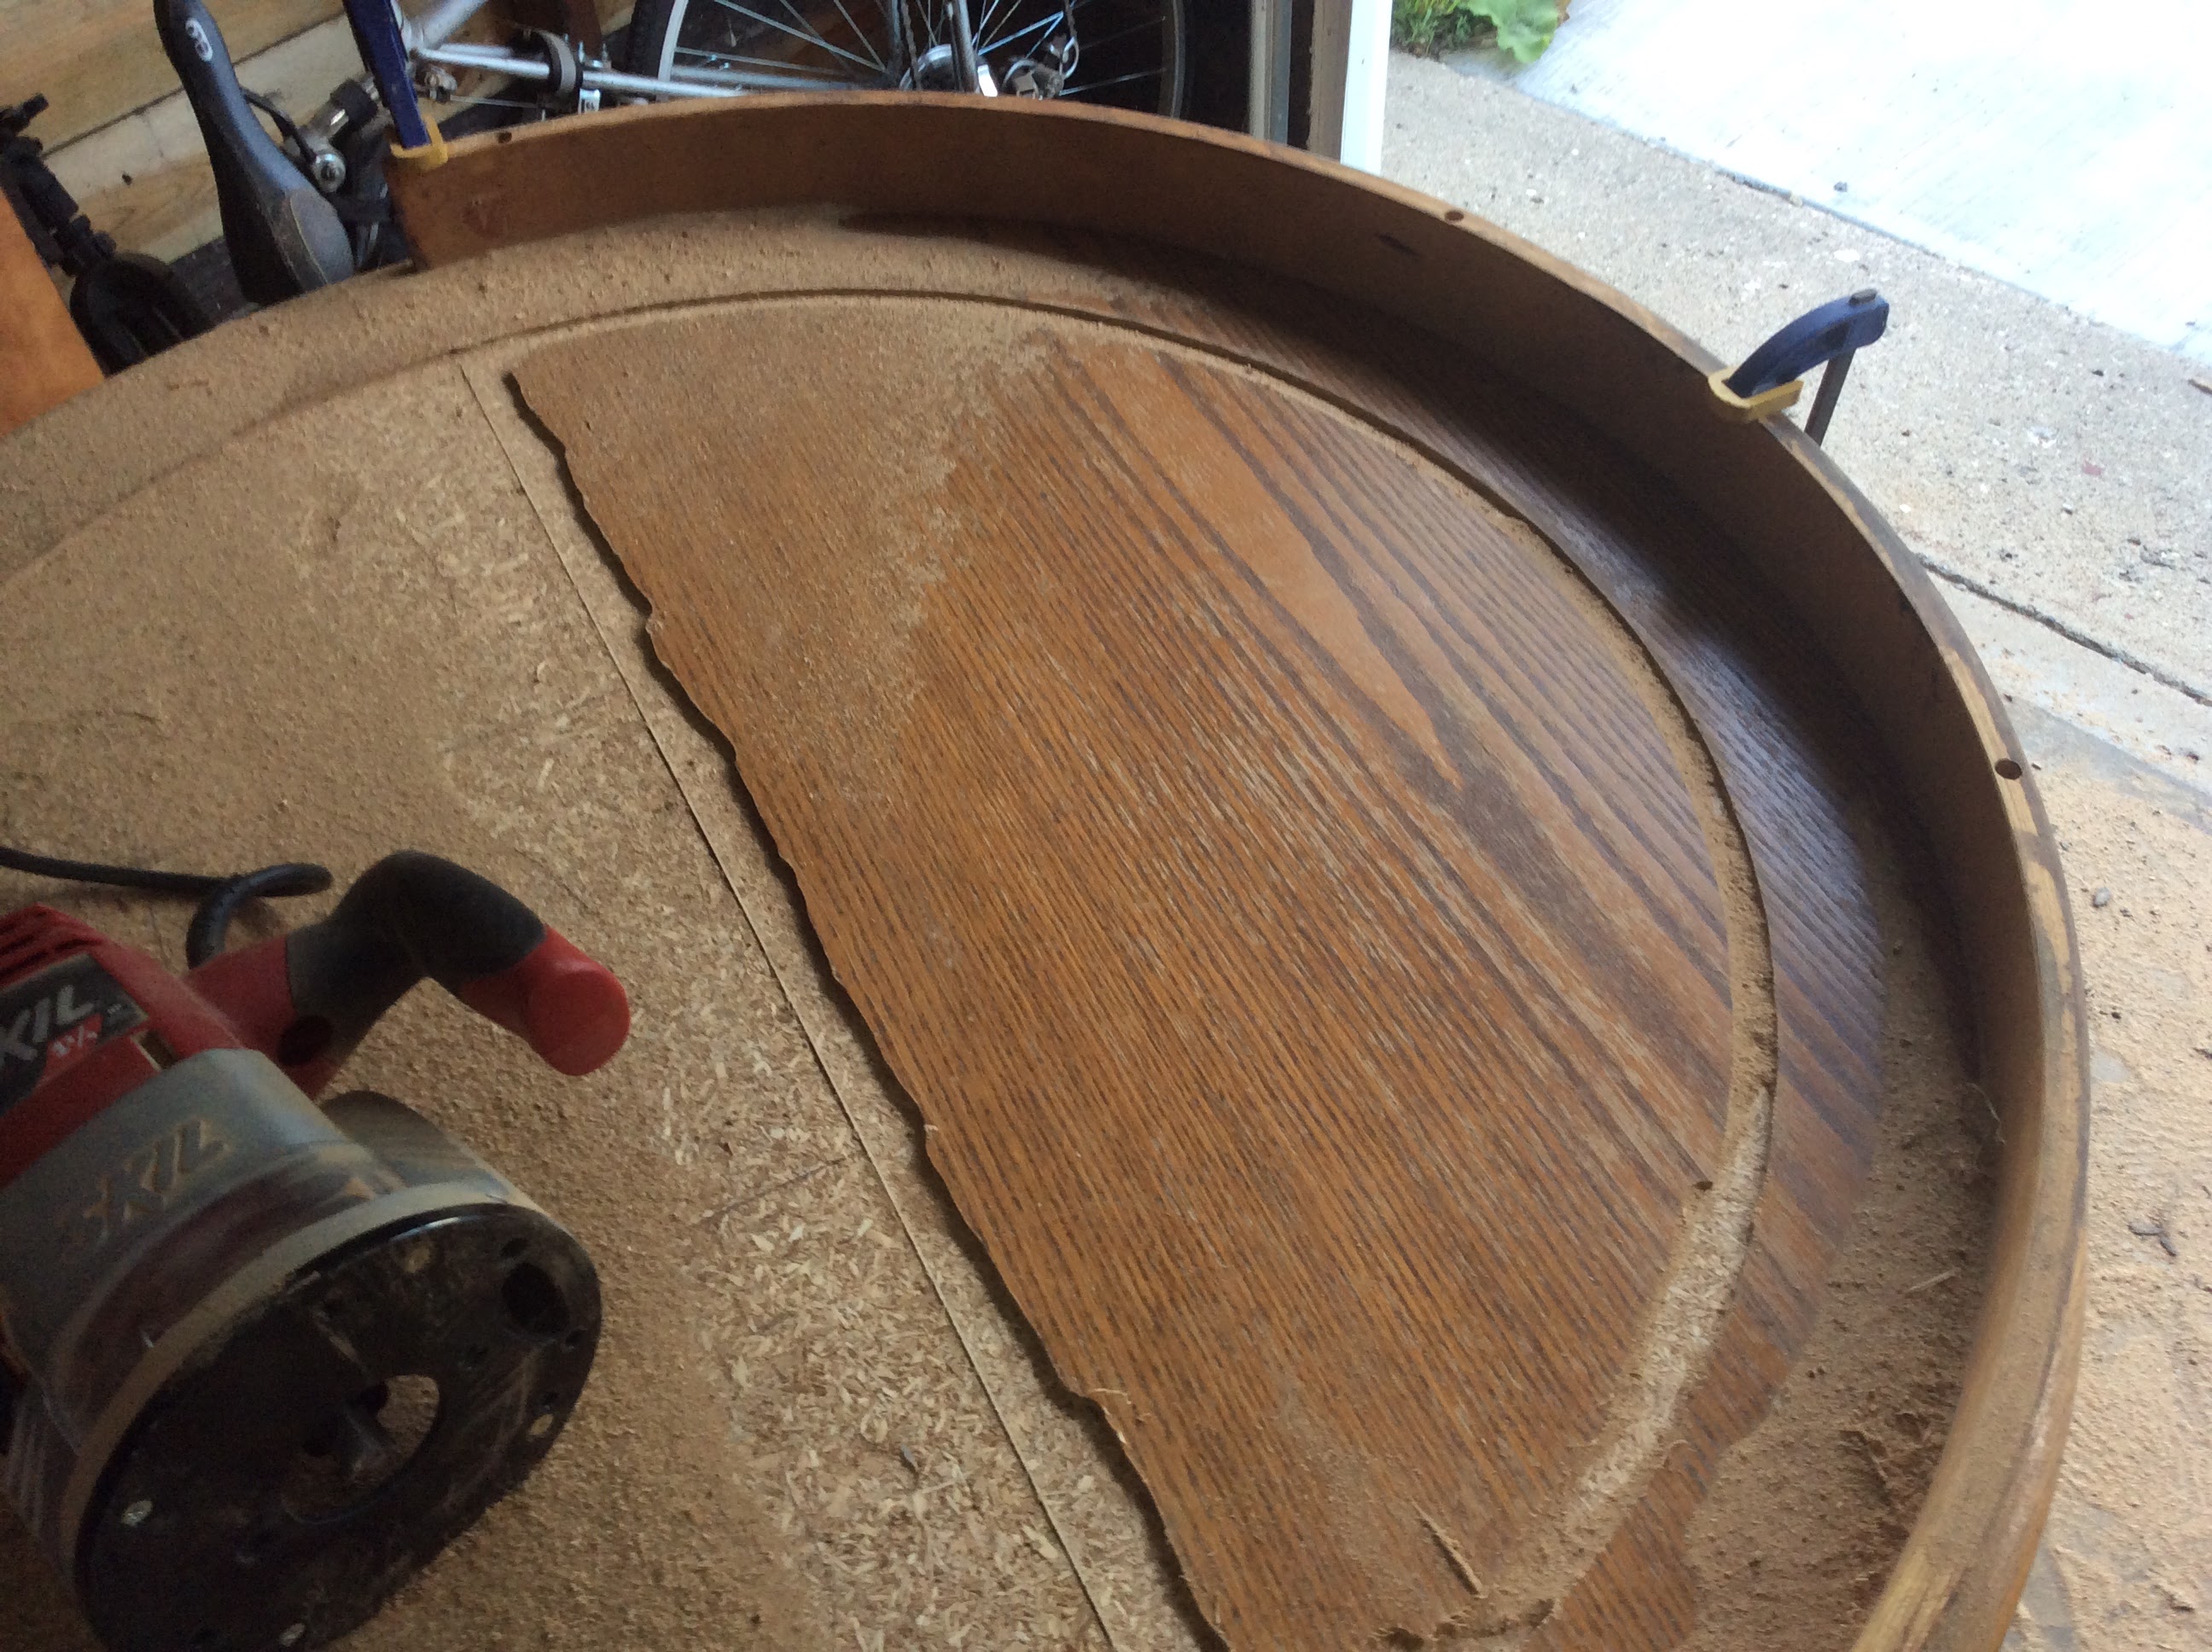
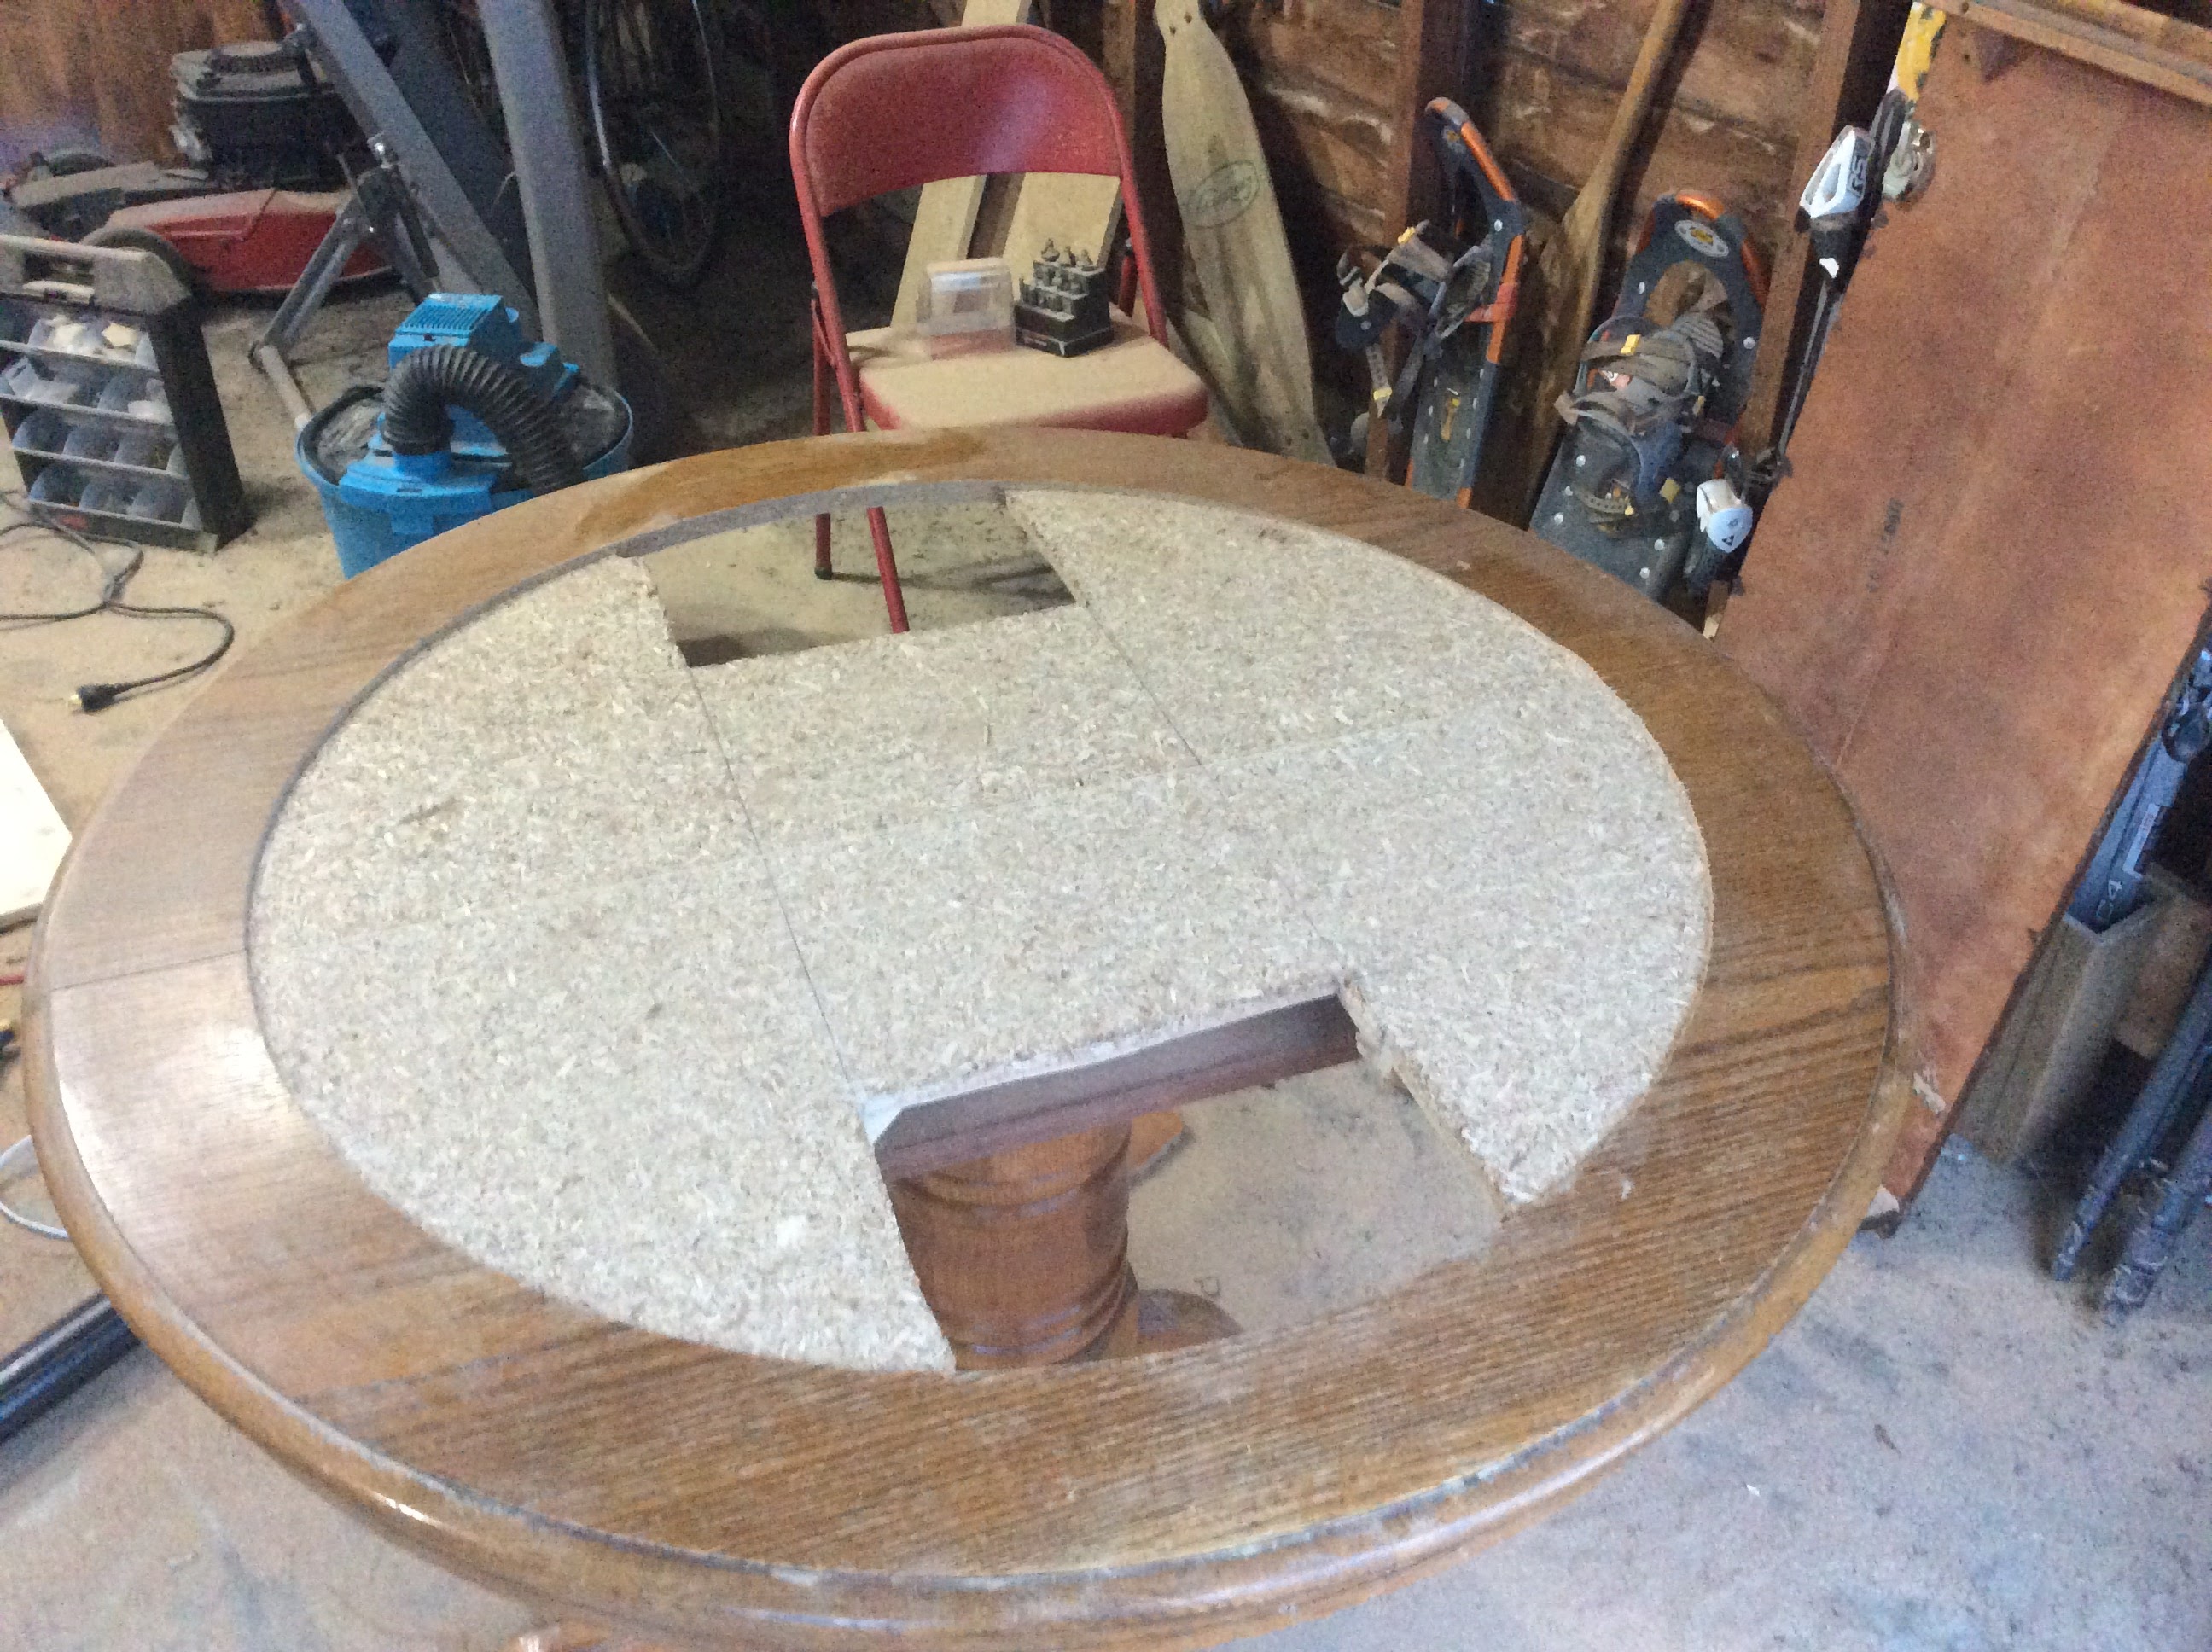
Step 1: Ground down the top 3/16ths from the top of the table.
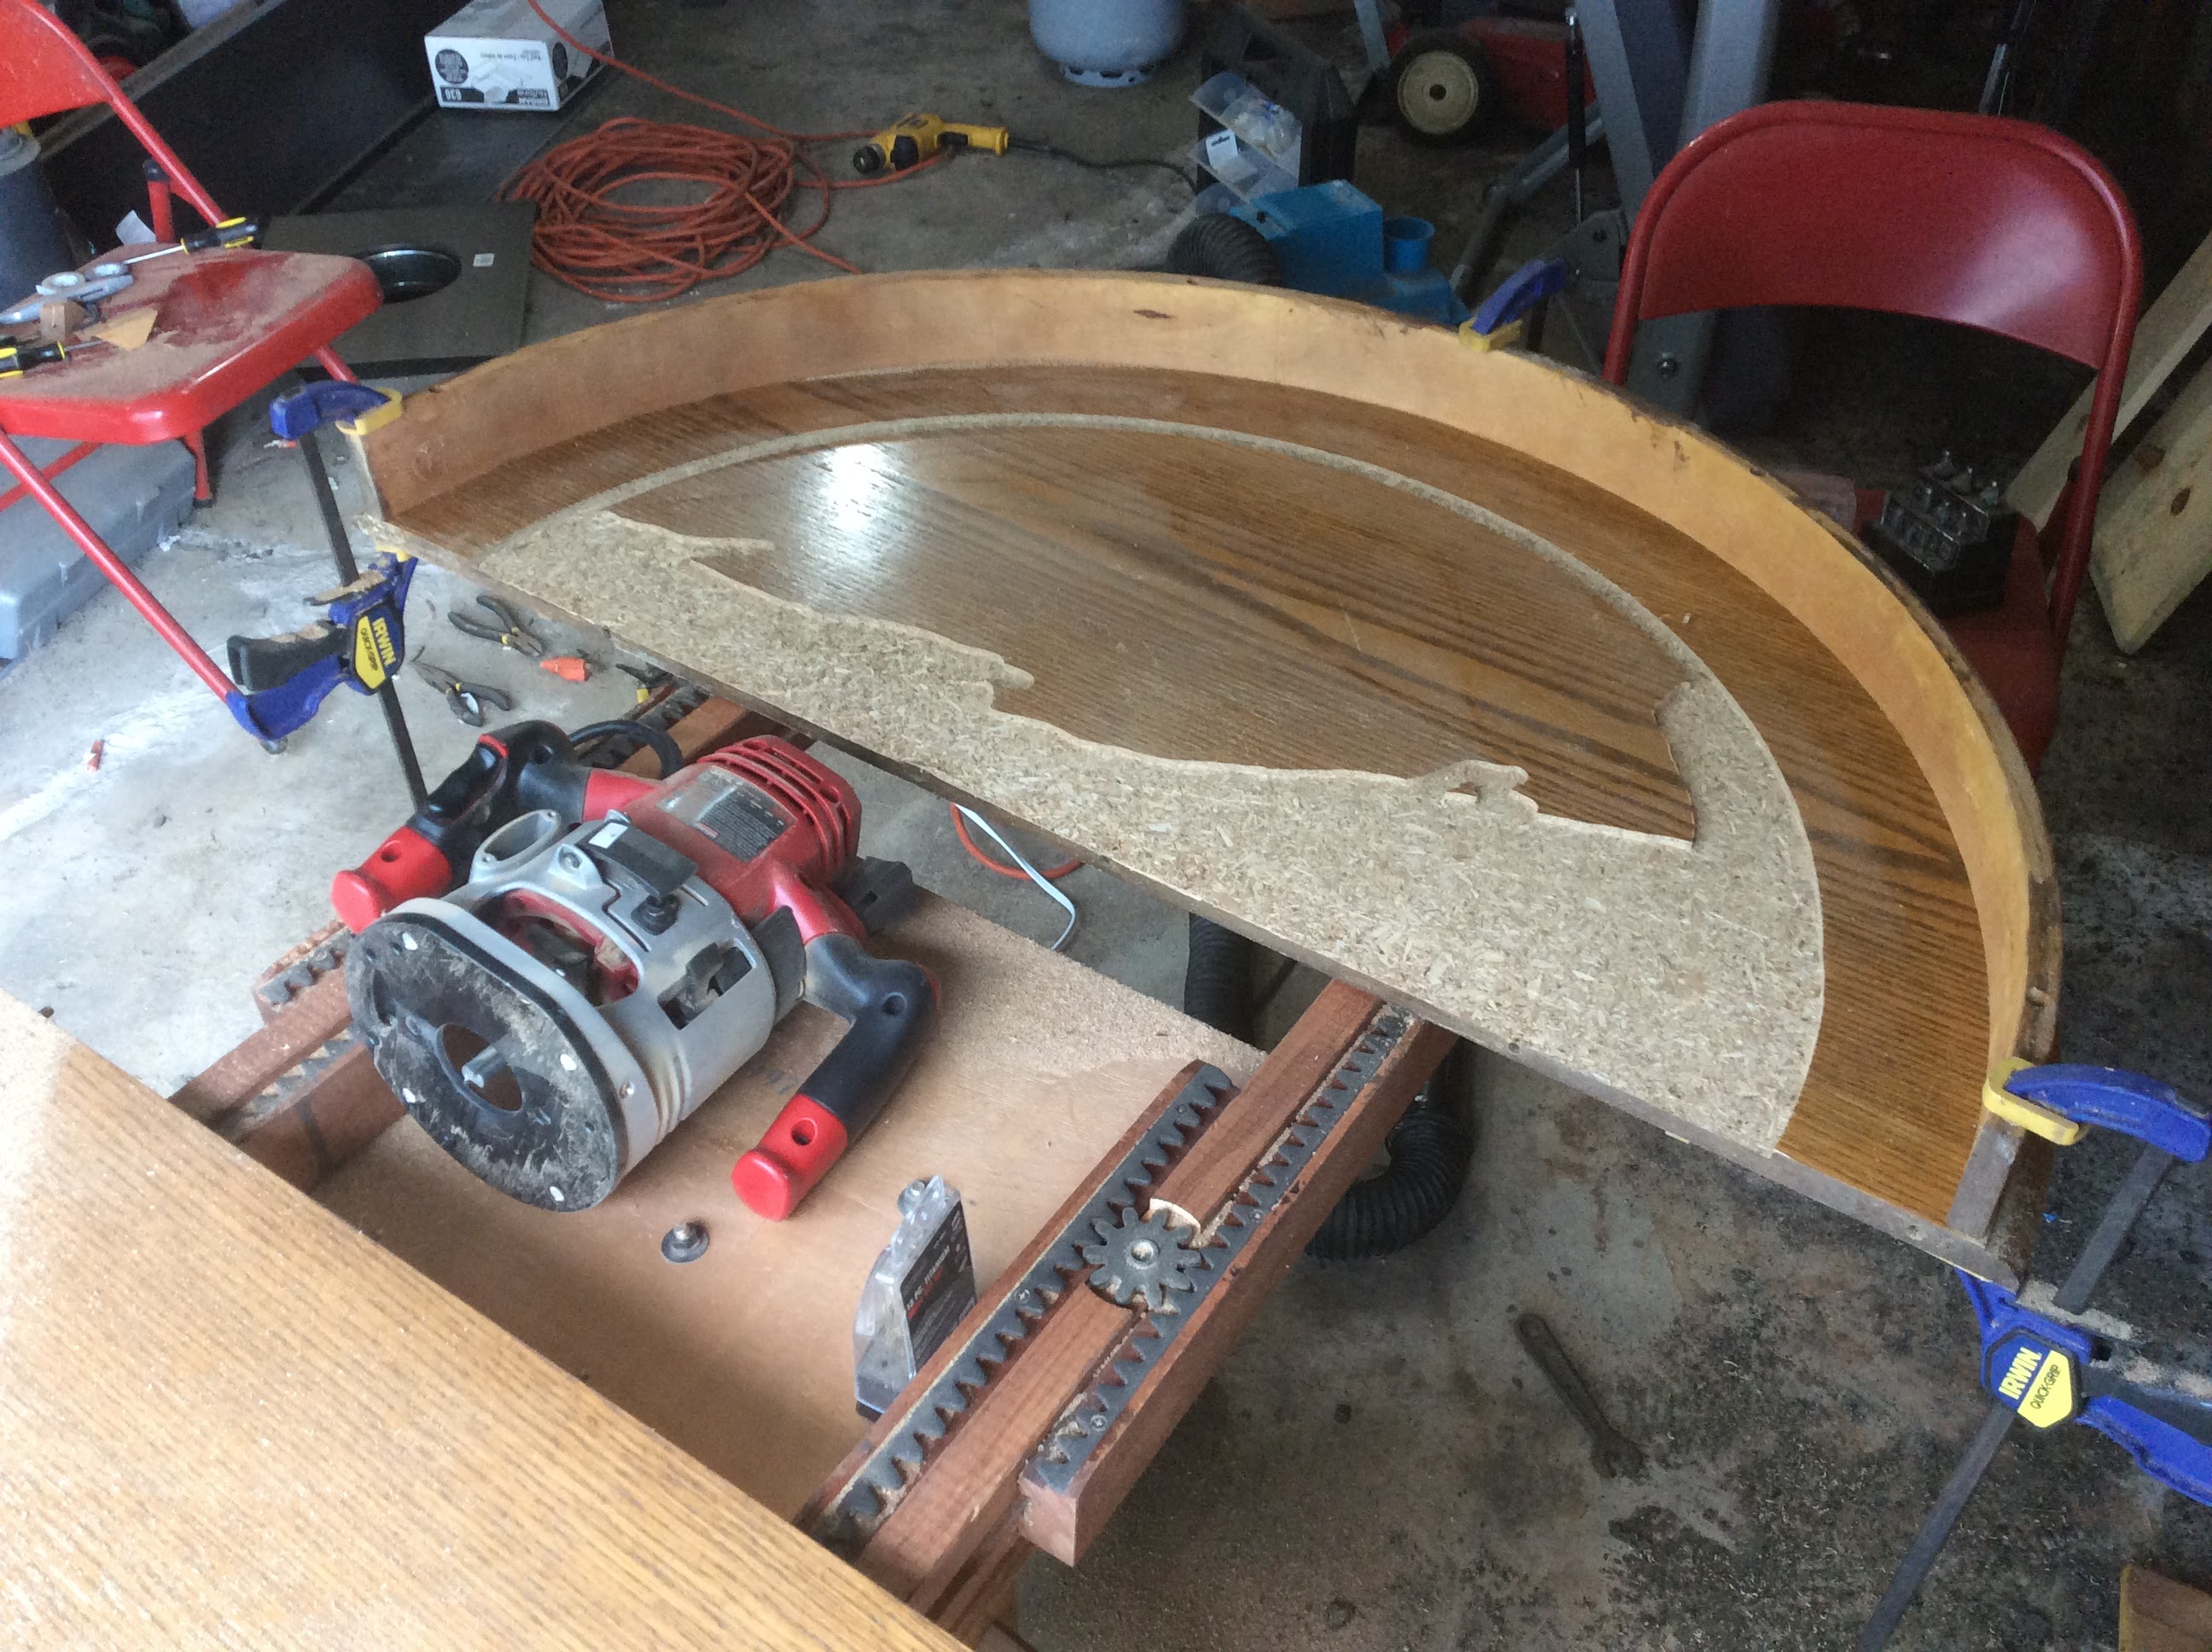 Why 3/16ths? I’ve got about 1/16th of lego, 1/8th of MDF in the middle and a bit of felt on the top. The felt will be directly attached to the MDF and all
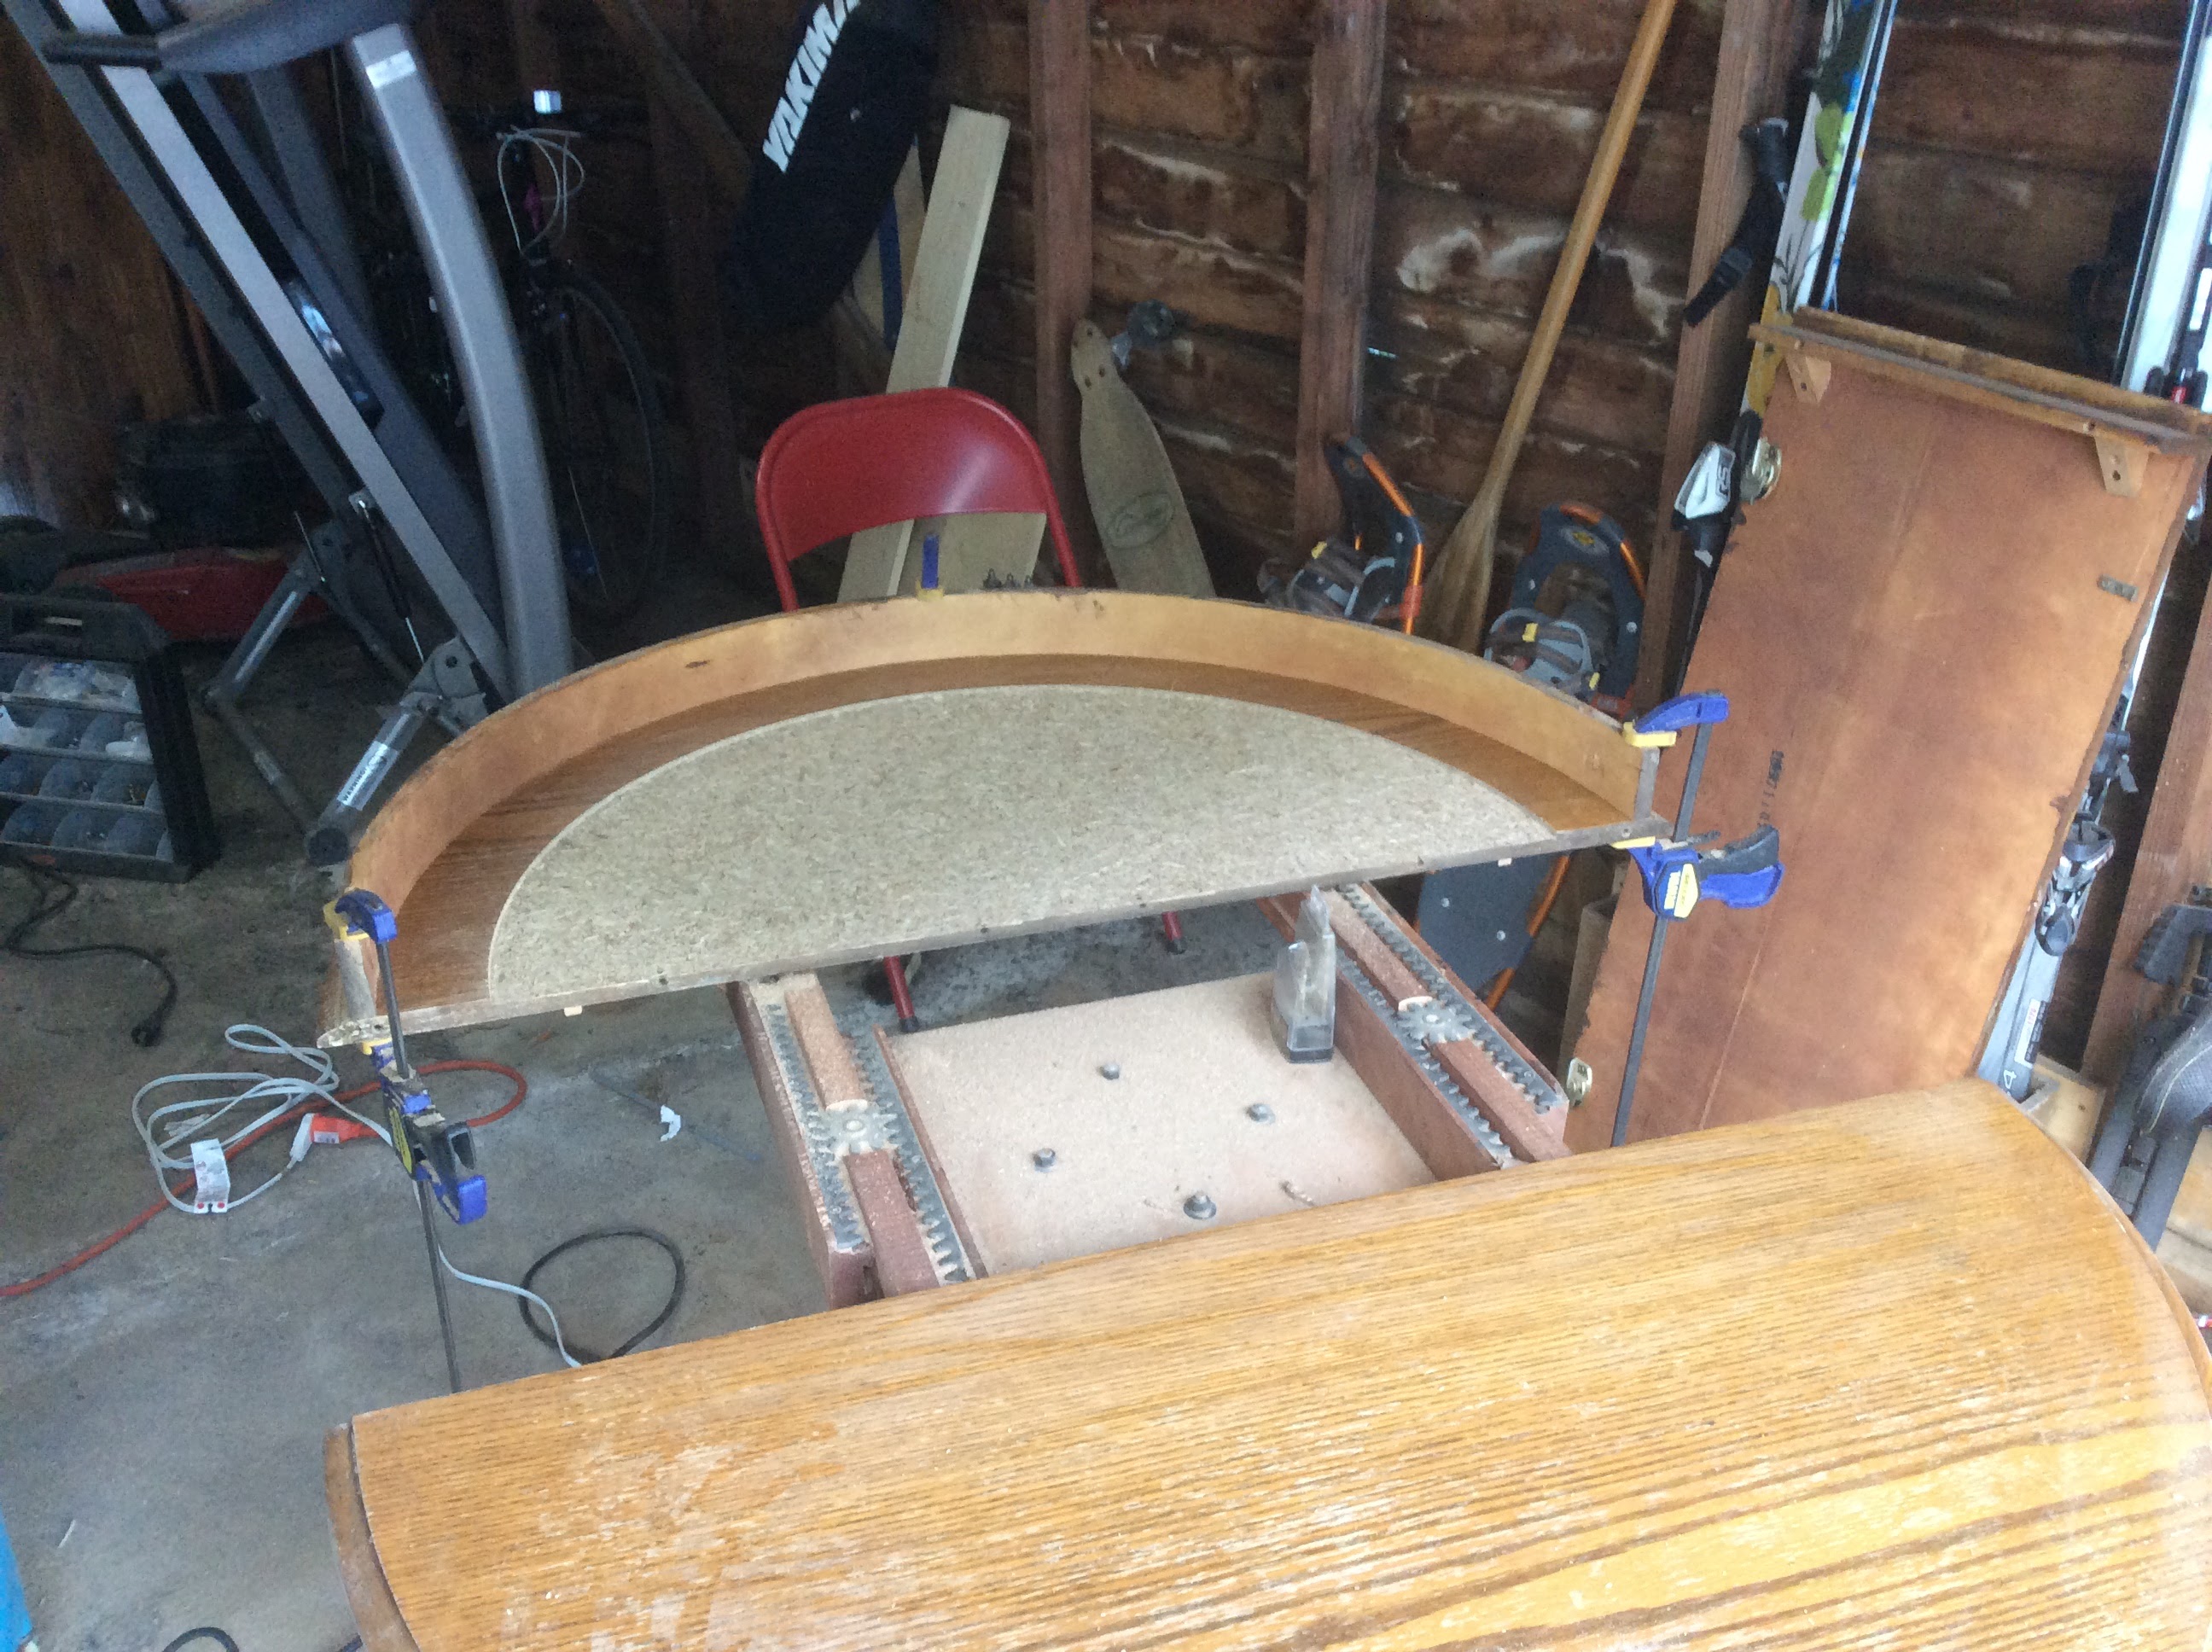 Turns out this is not actually ideal. It was REALLY annoying to have to route down the whole thing. Oh well, finish what I started.
Step 2: Cut holes for the lego bins I want to add to the lego table part.
 I wanted the lego bins to be large enough to hold a good amount of legos, but small enough to not take up too much surface.
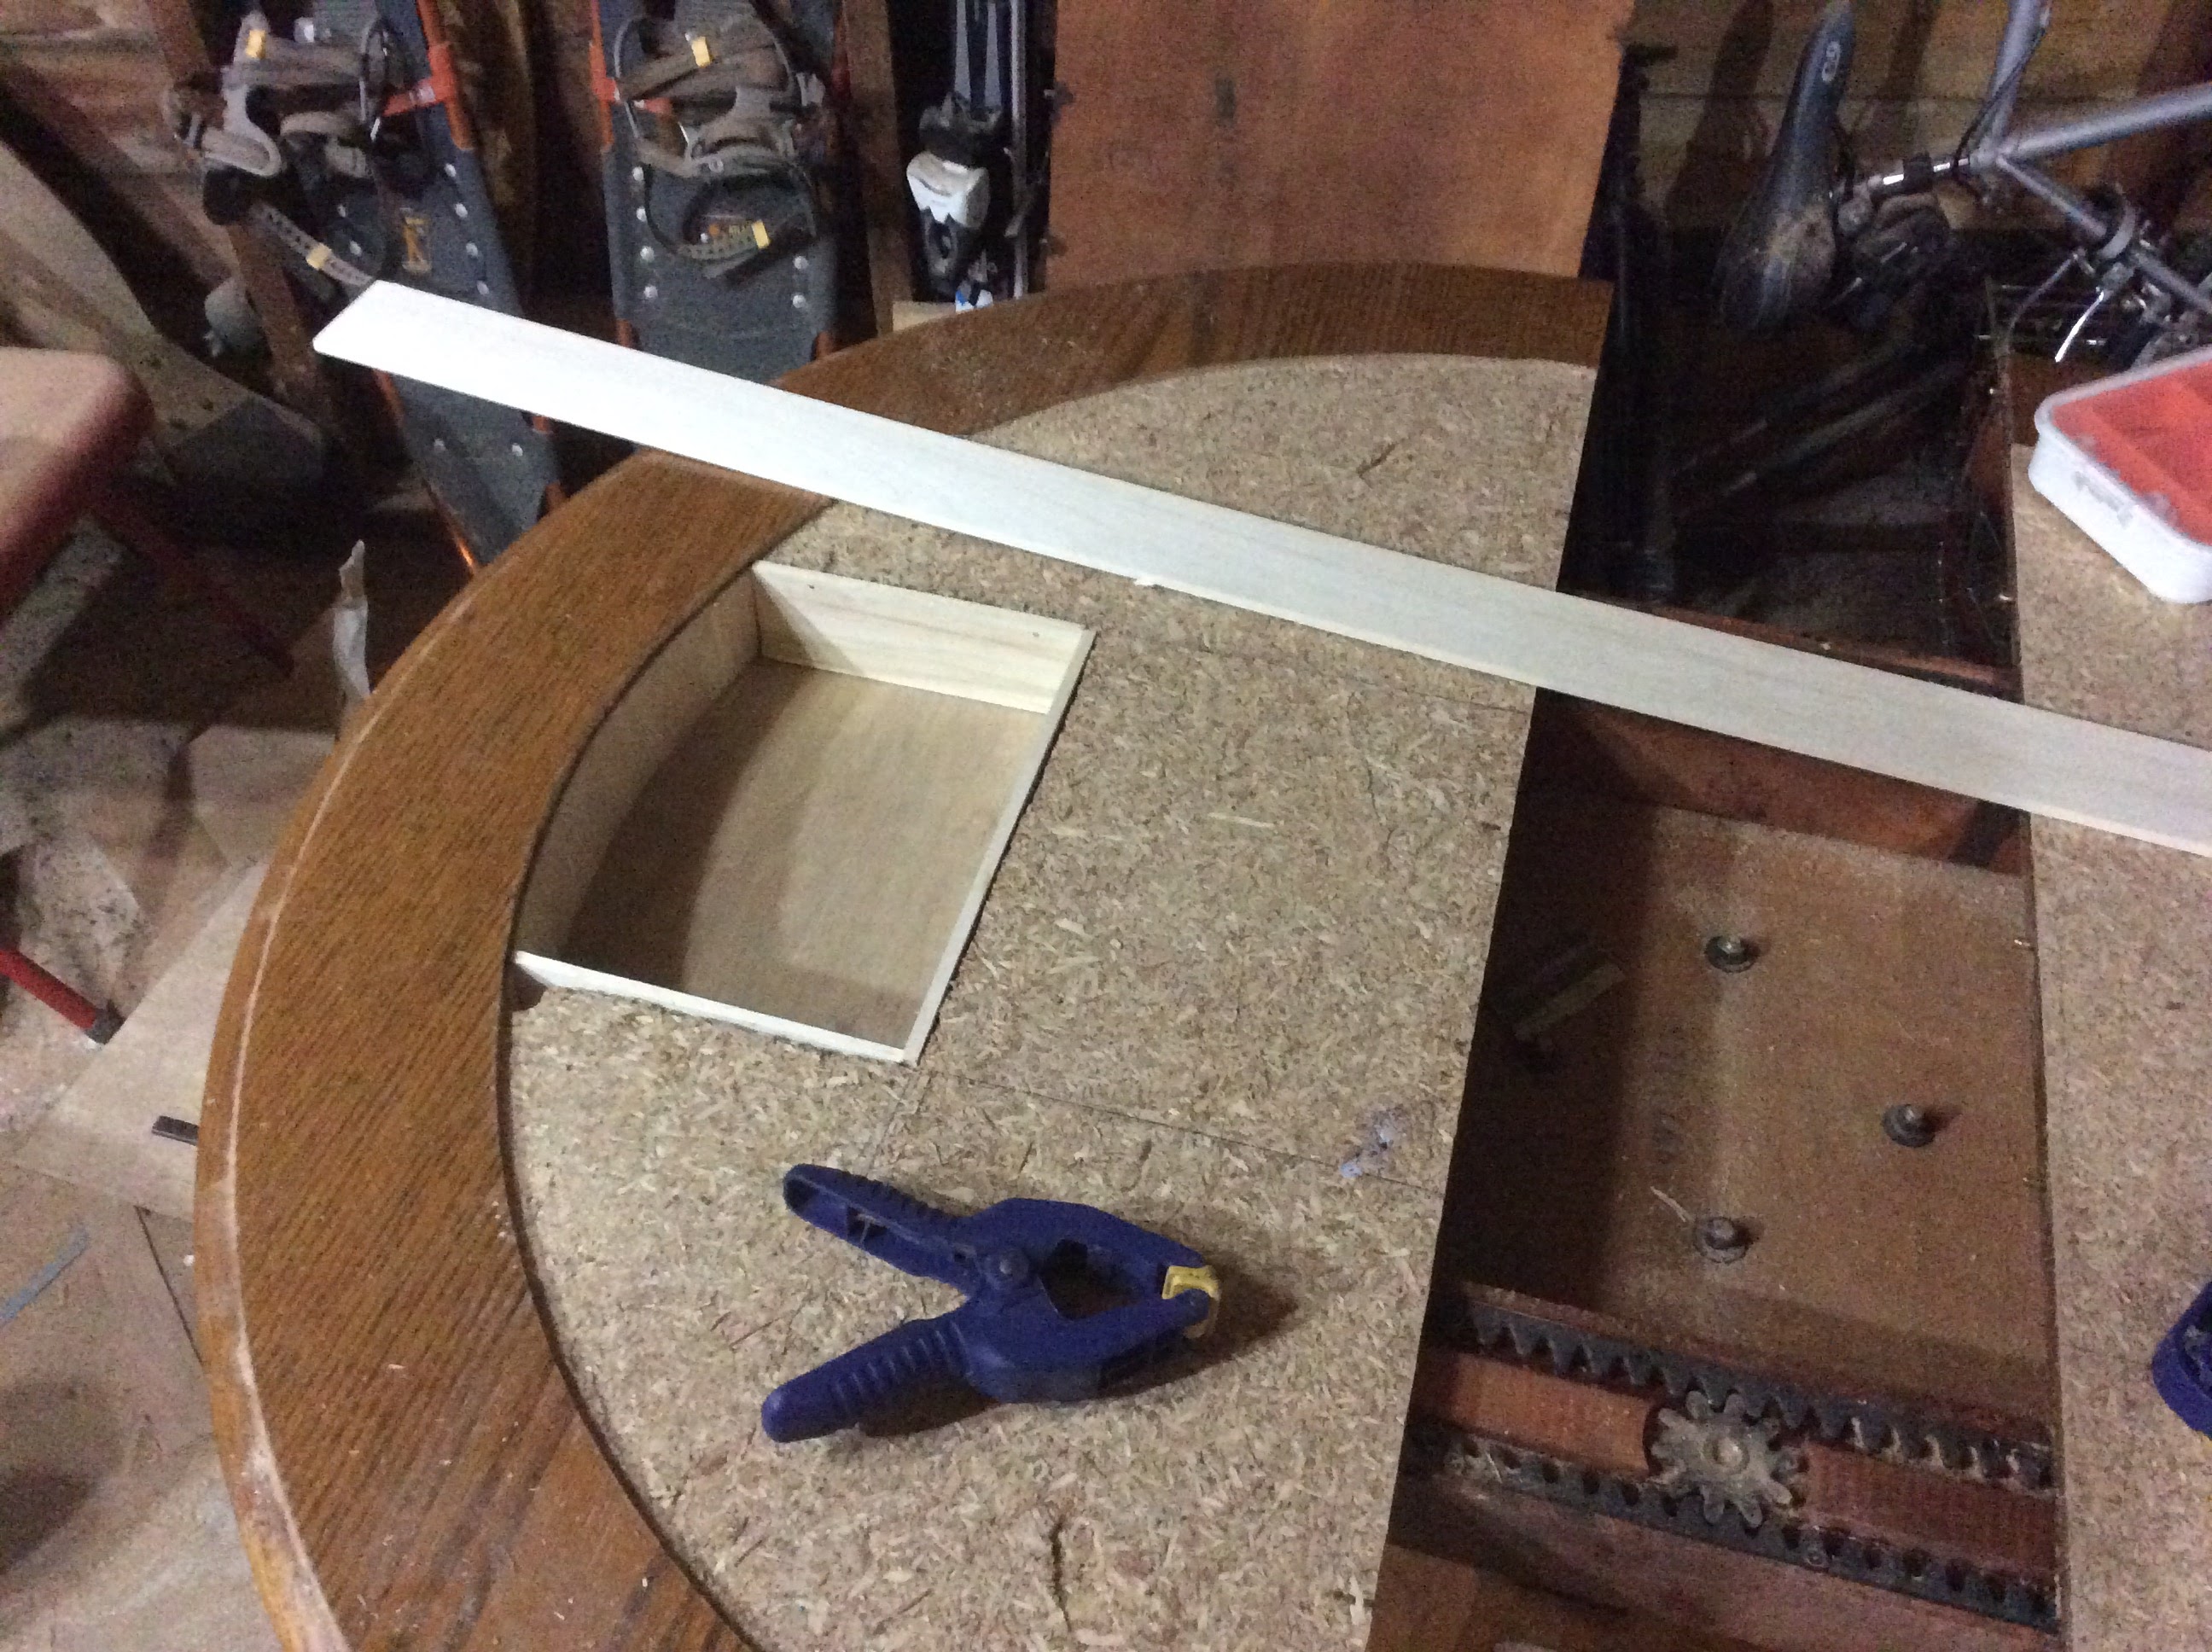
Step 3: Build boxes in the holes built for the lego bins.
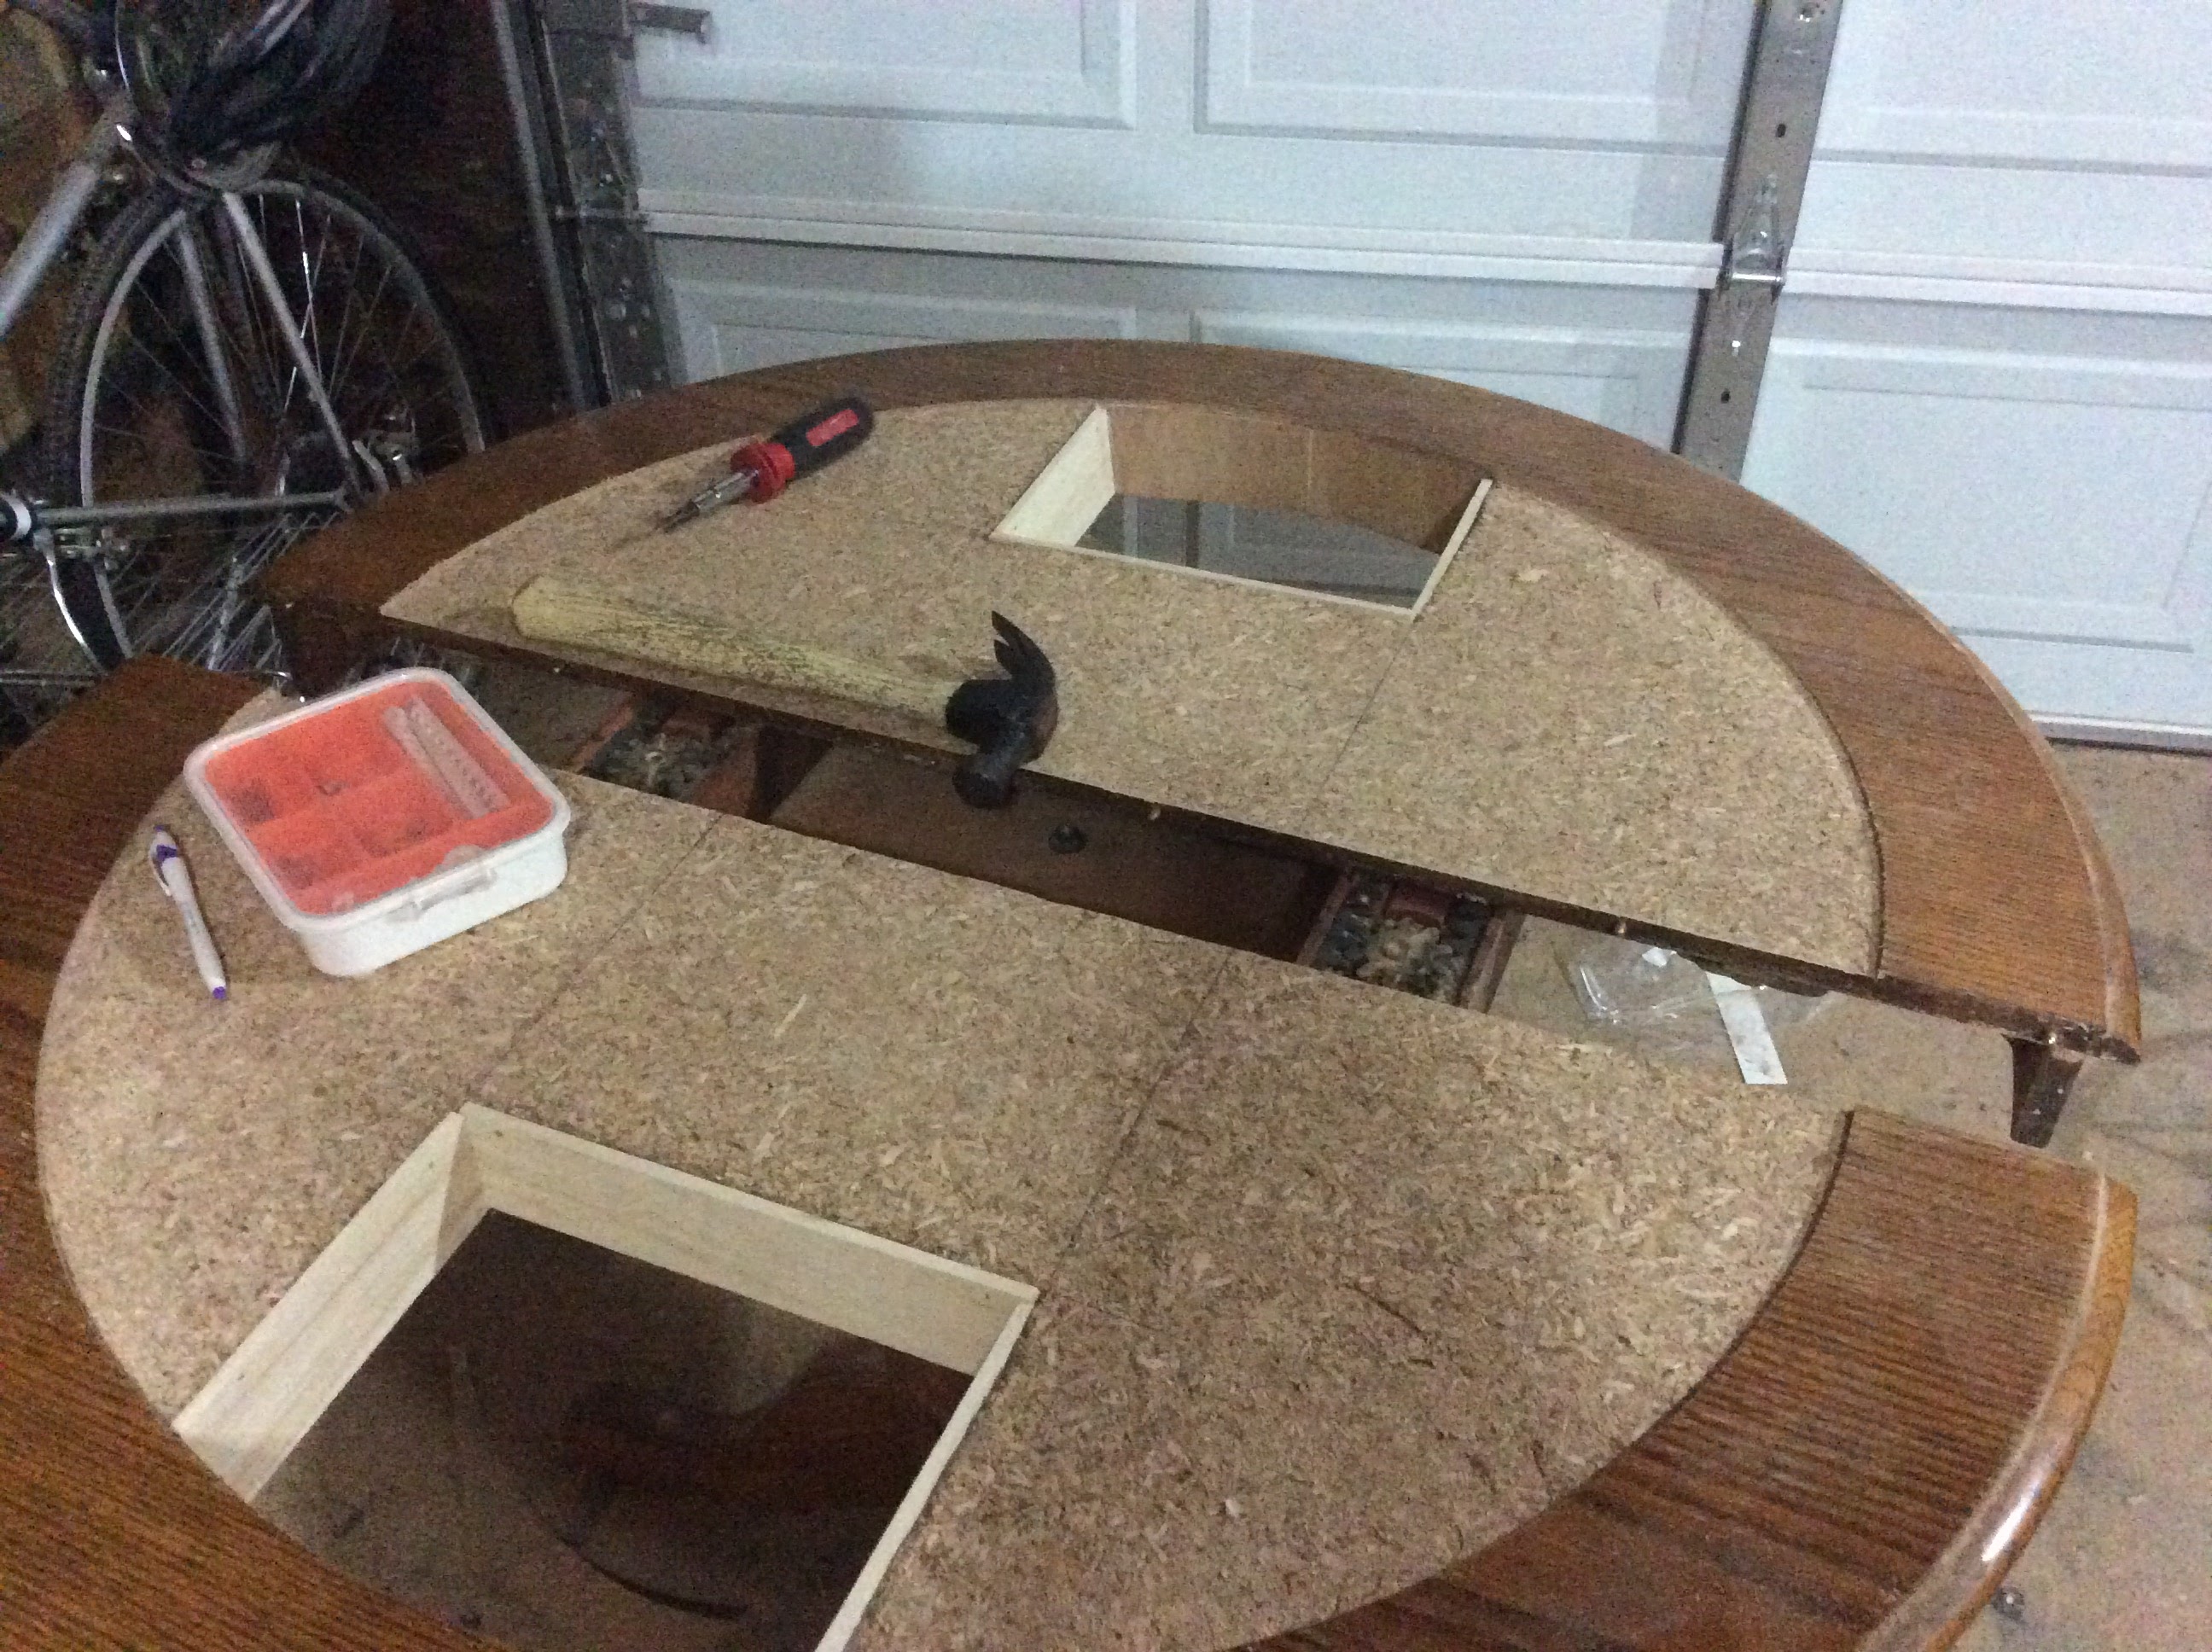 I didn’t want the boxes to sit below the level of the lip under the table. Wouldn’t want peoples knees to hit the boxes while playing games.
Step 4: Prep the backing for the felt.
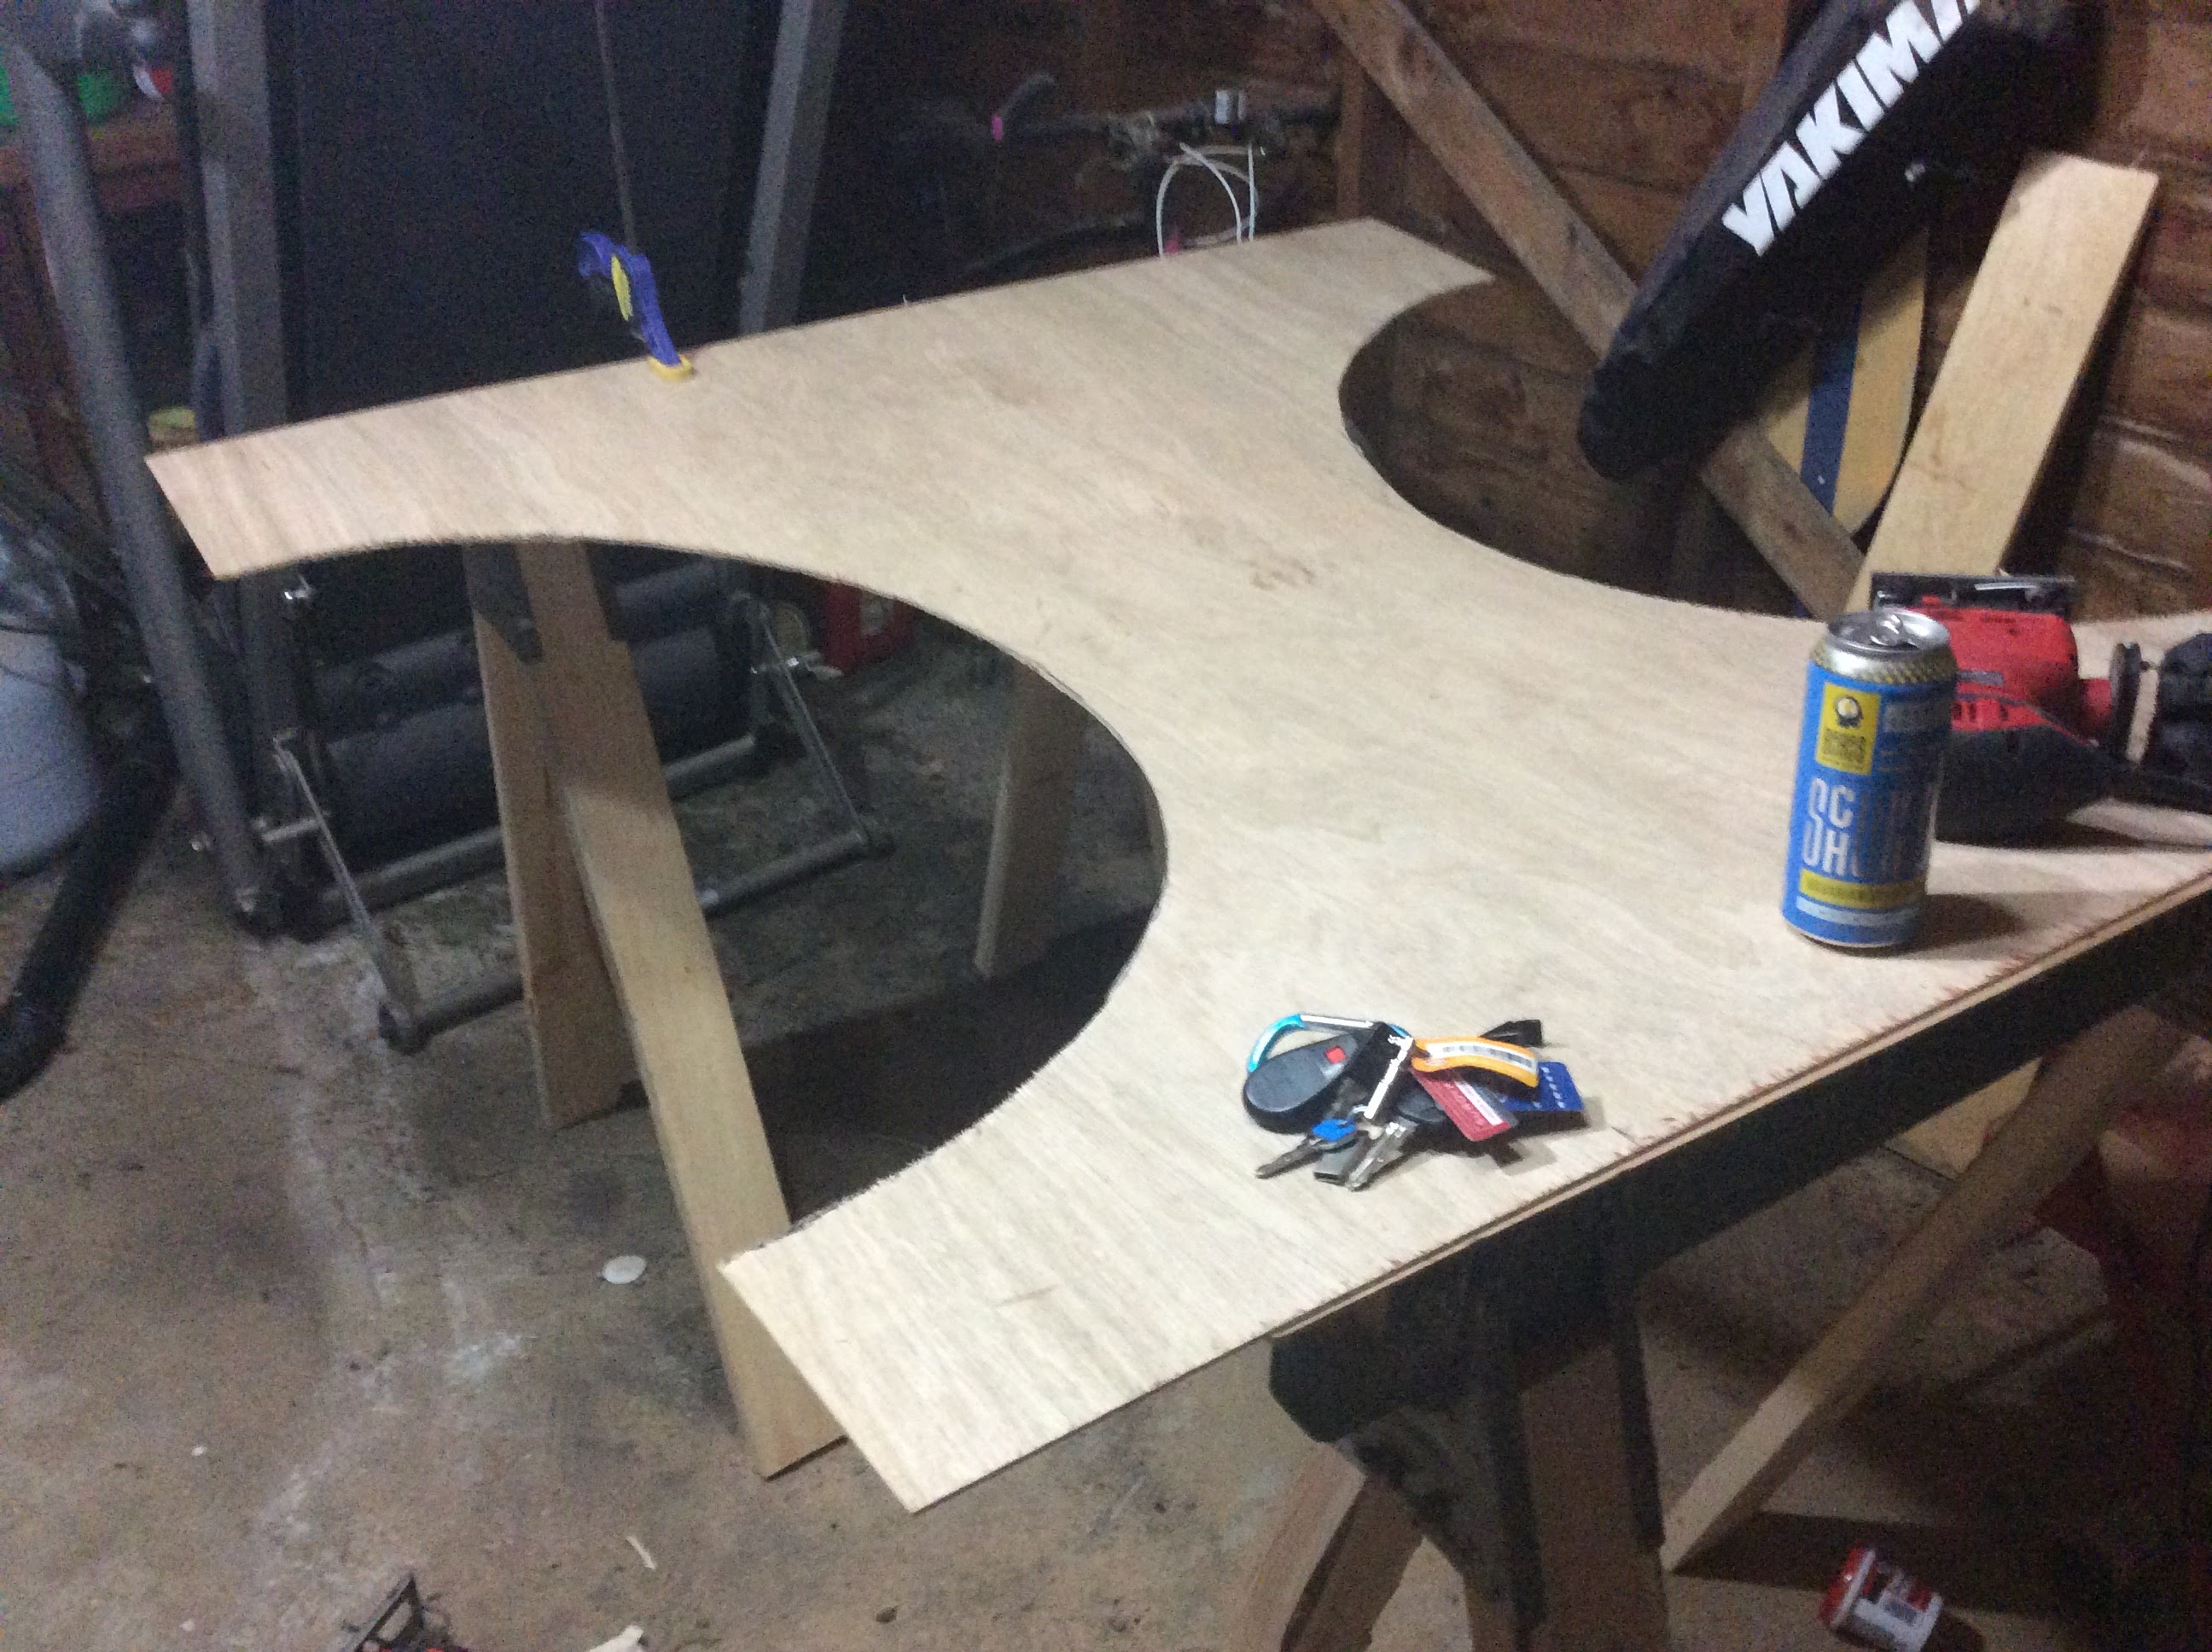 I Tried really hard to get this accurate, but it was ahrd to make sure the shape was just right.
 It wasn’t too bad sanding it to get it right, honestly I ended up using an exacto knife a bunch since that plywood was so thin. (1/8th”).
Step 5: Paint under the lego bits
 I also painted the bins red, which you’ll see below, but I didn’t get a picture of that stage.
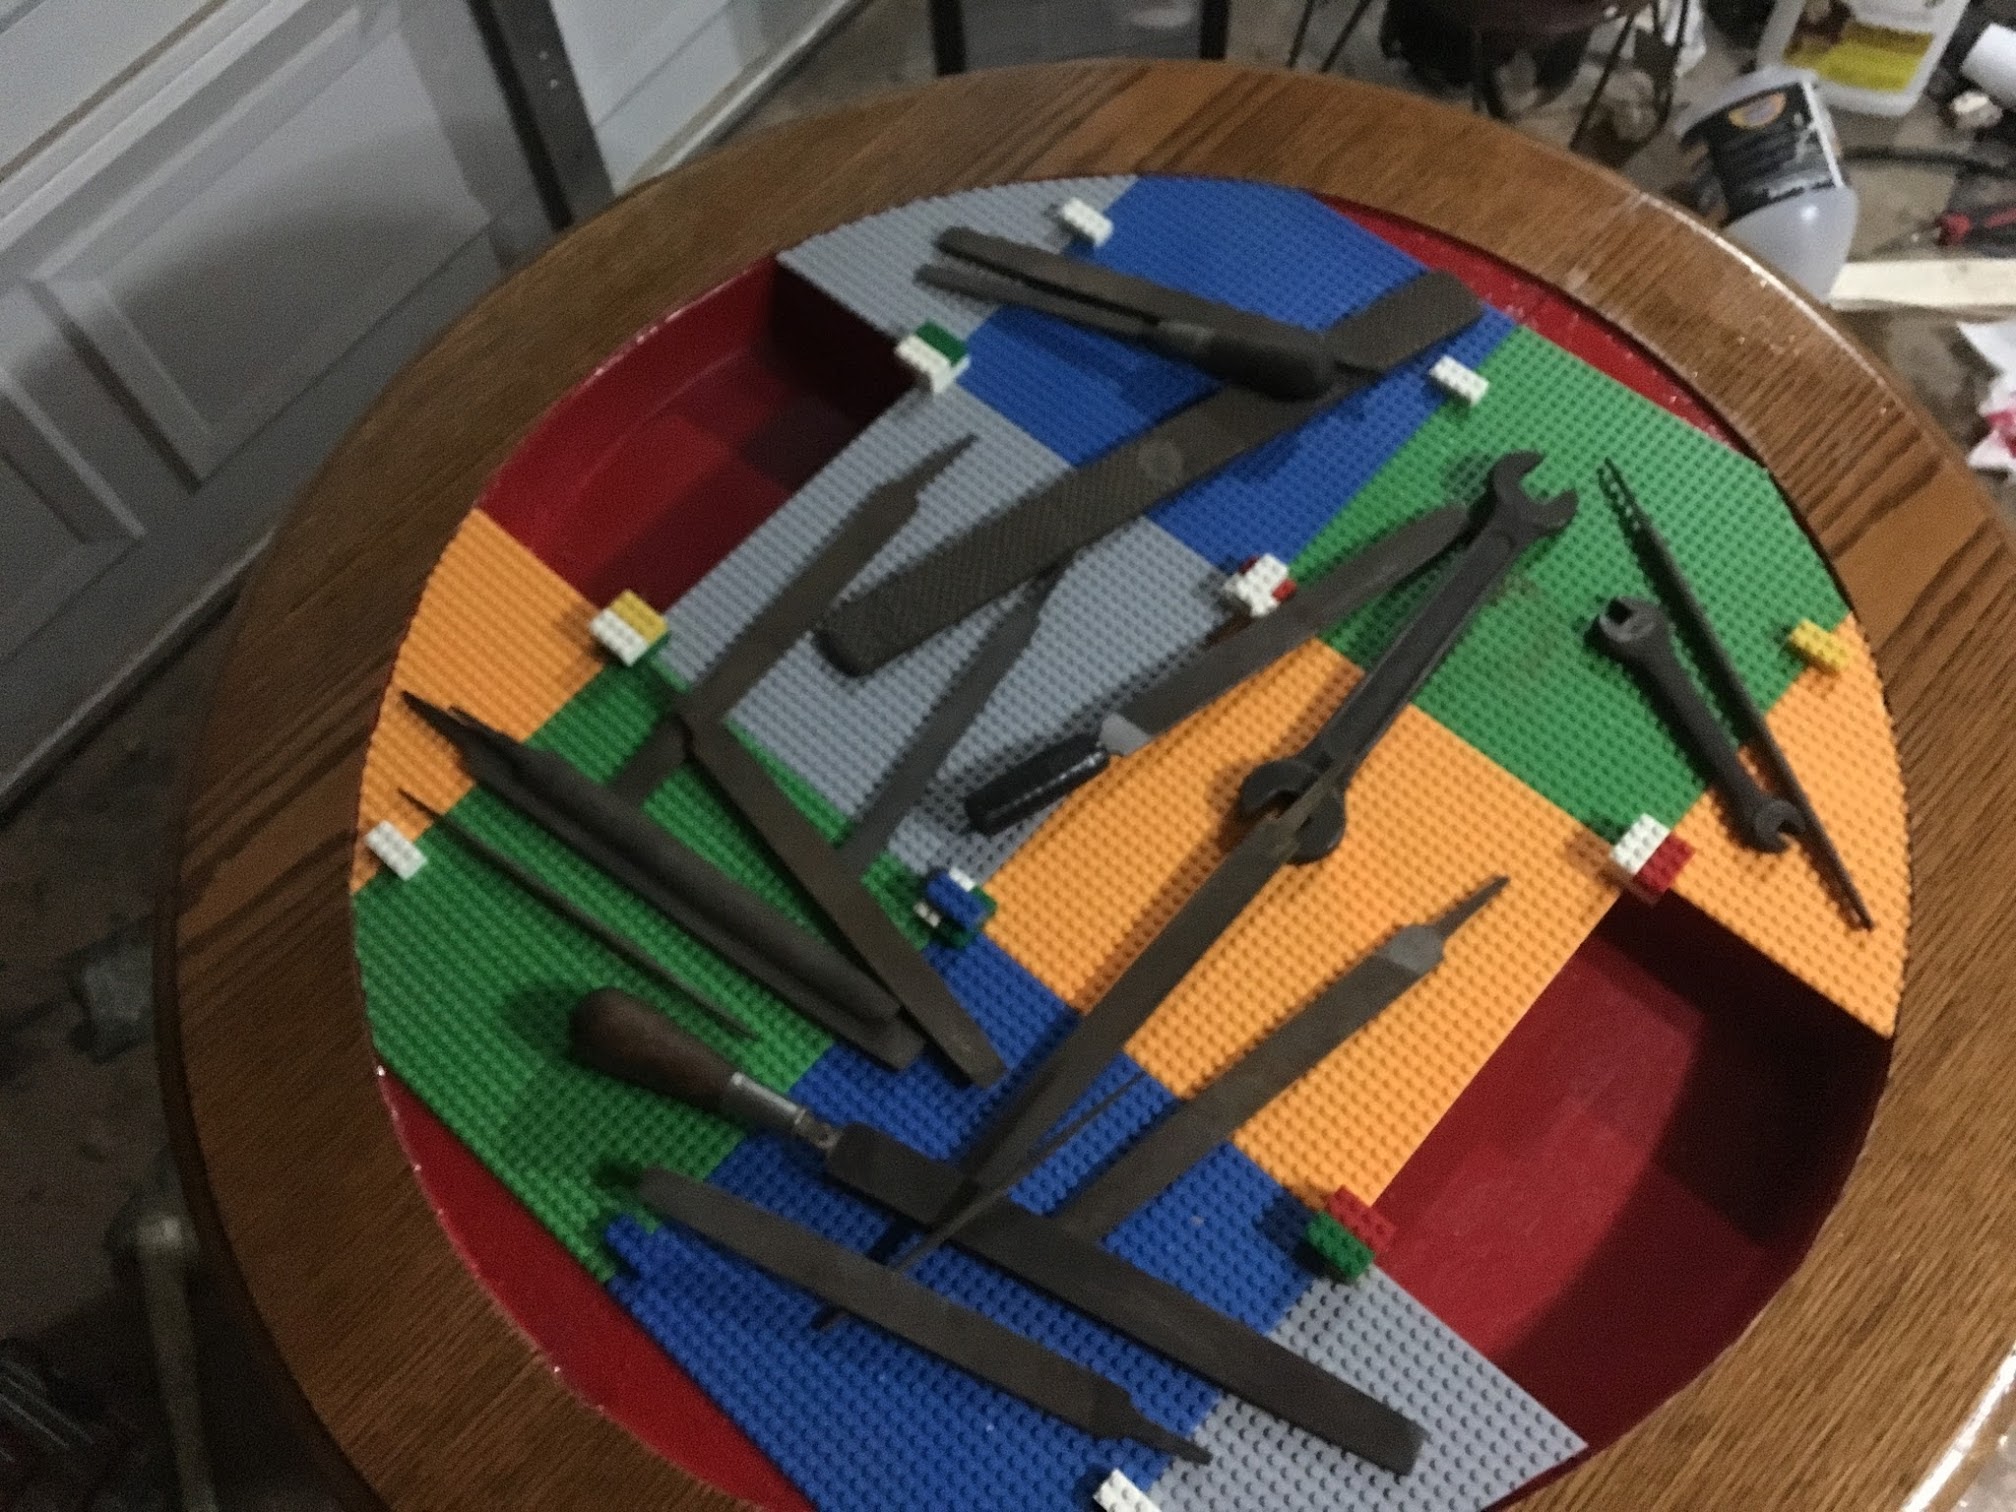
Step 6: Fit the legos and glue them down!
 These off brand legos fit pretty well, but they were tougher than I thought. I’m glad I got stuff traced out before hand, but it was harder to cut those lego base plates than I thought. Probably would have worked better on a scroll saw or maybe a bandsaw with a narow blade.
Step 7: Glue the backing and it’s done!
 The legos and wood were a bit thicker than I anticipated, but I’m not sure it’s so bad. I added a bit of extra felt around the edge to make up for the slightly raised surface.
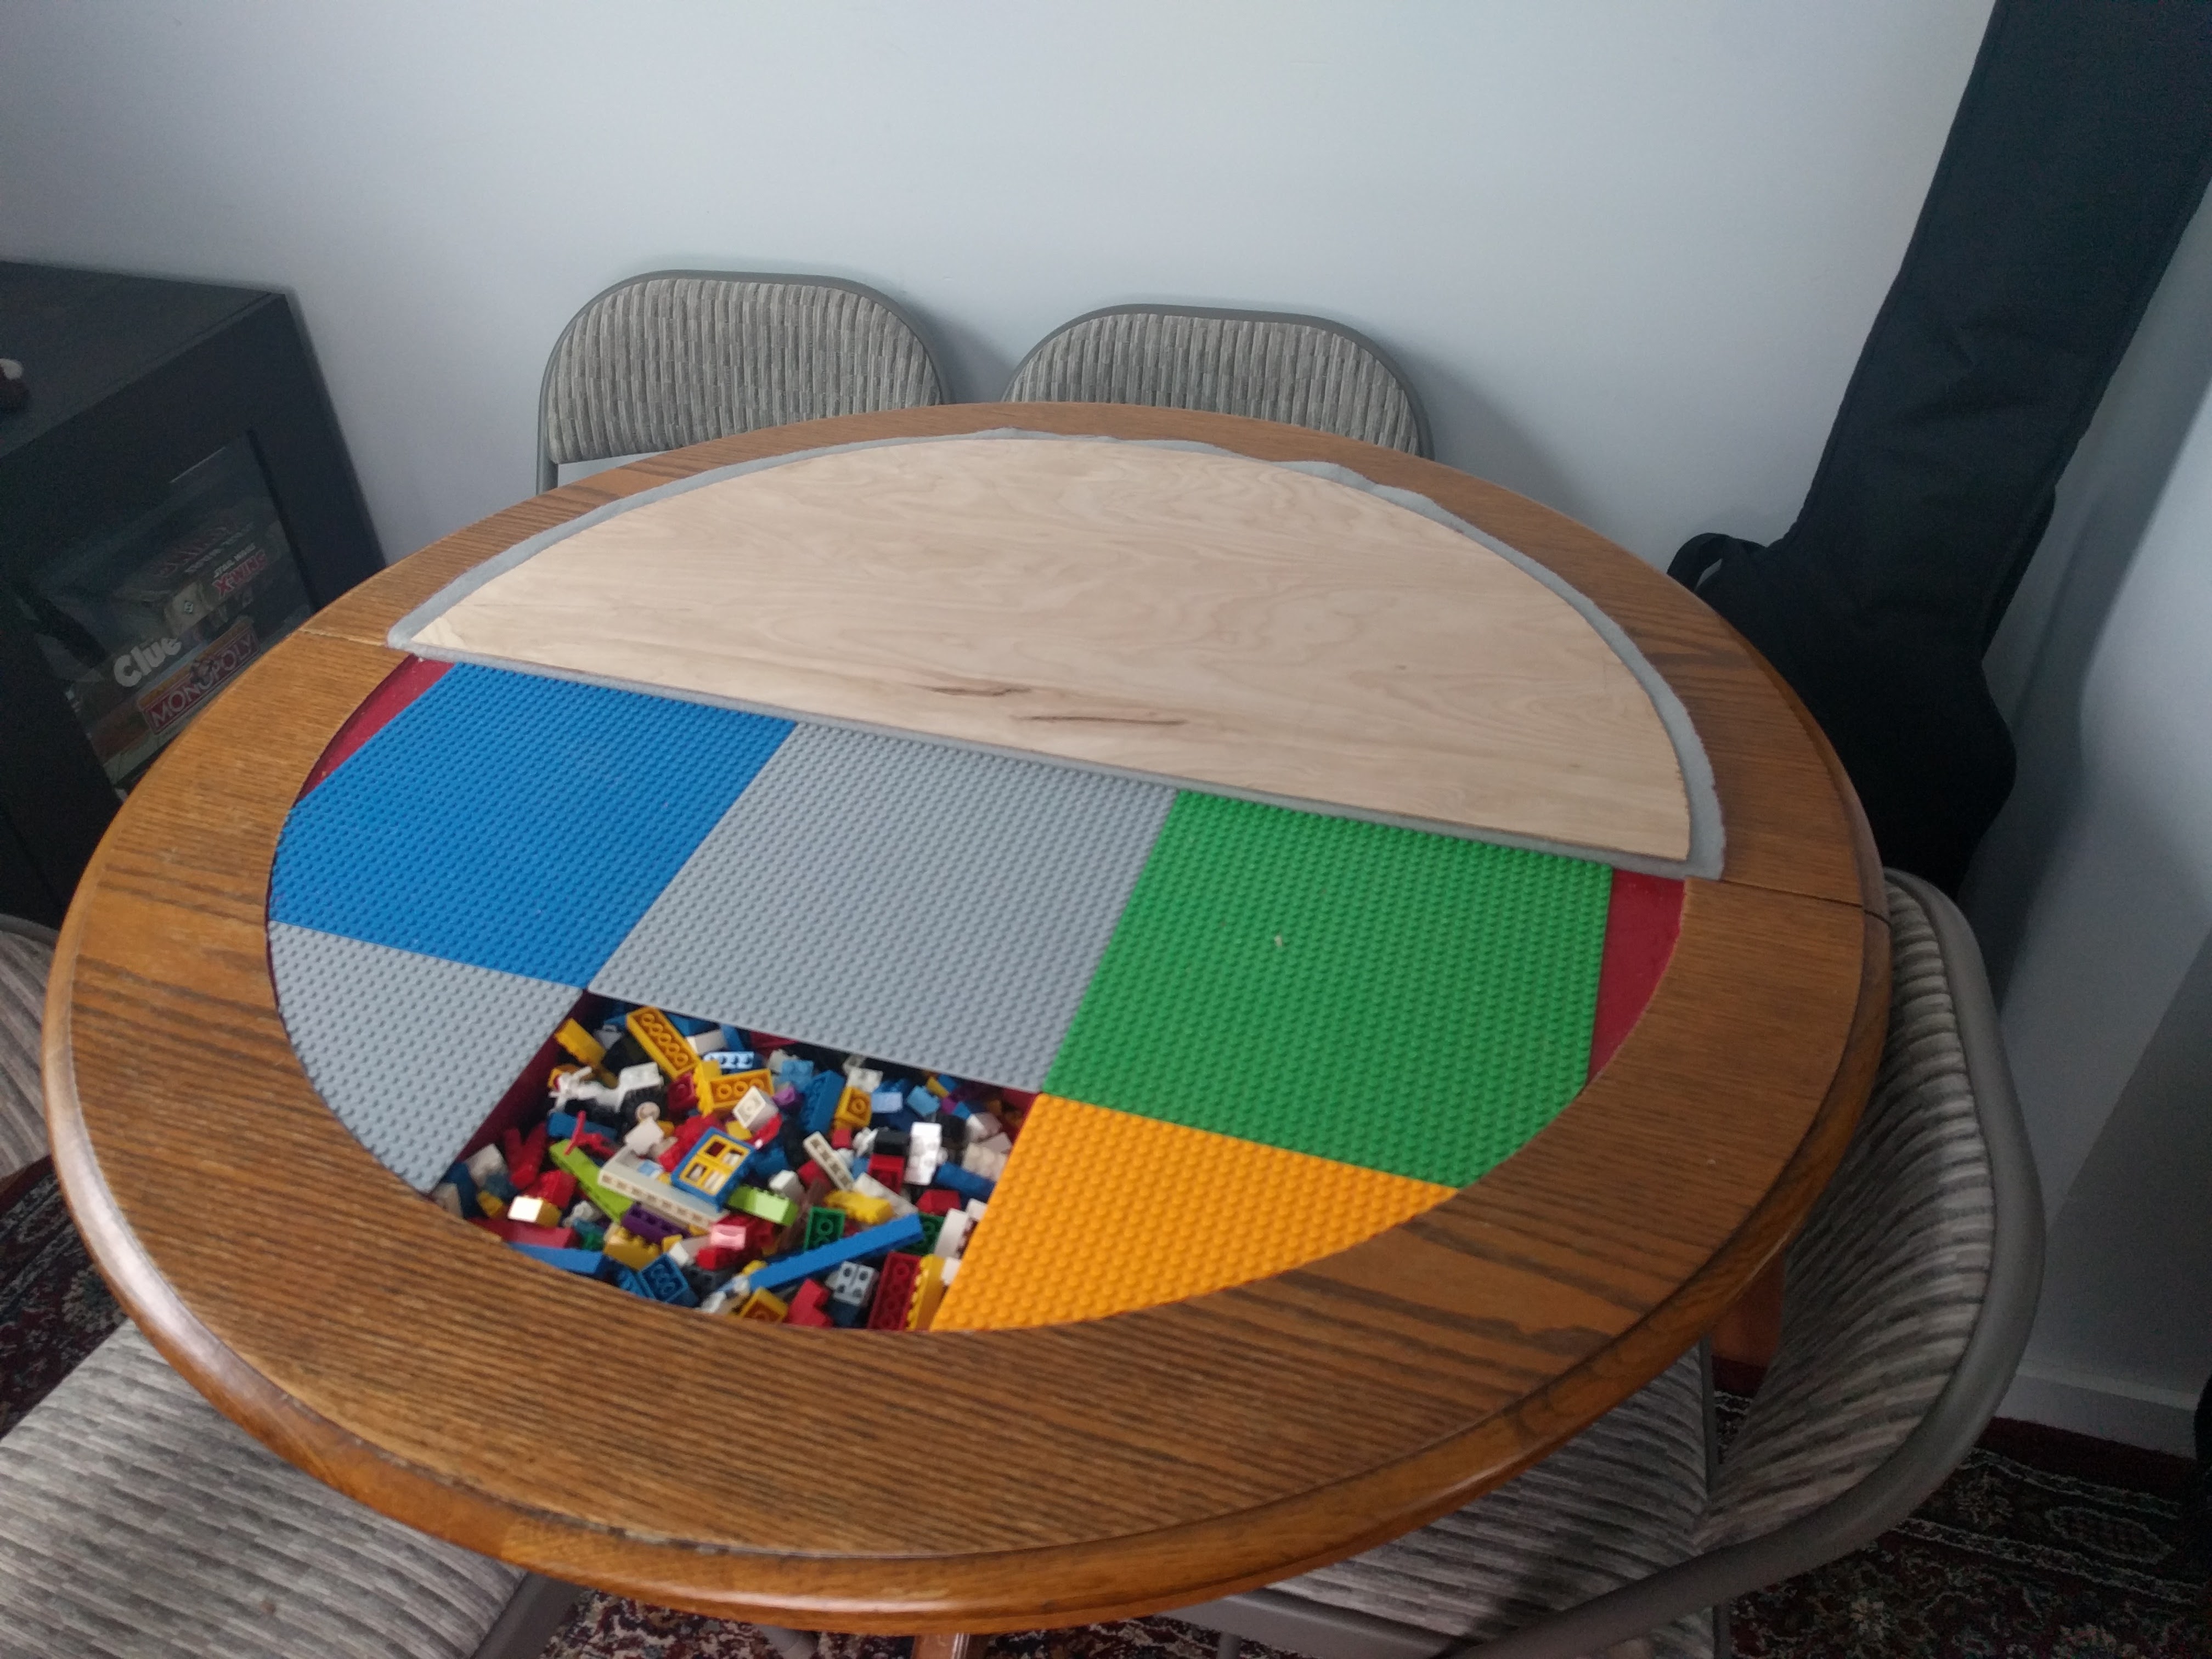
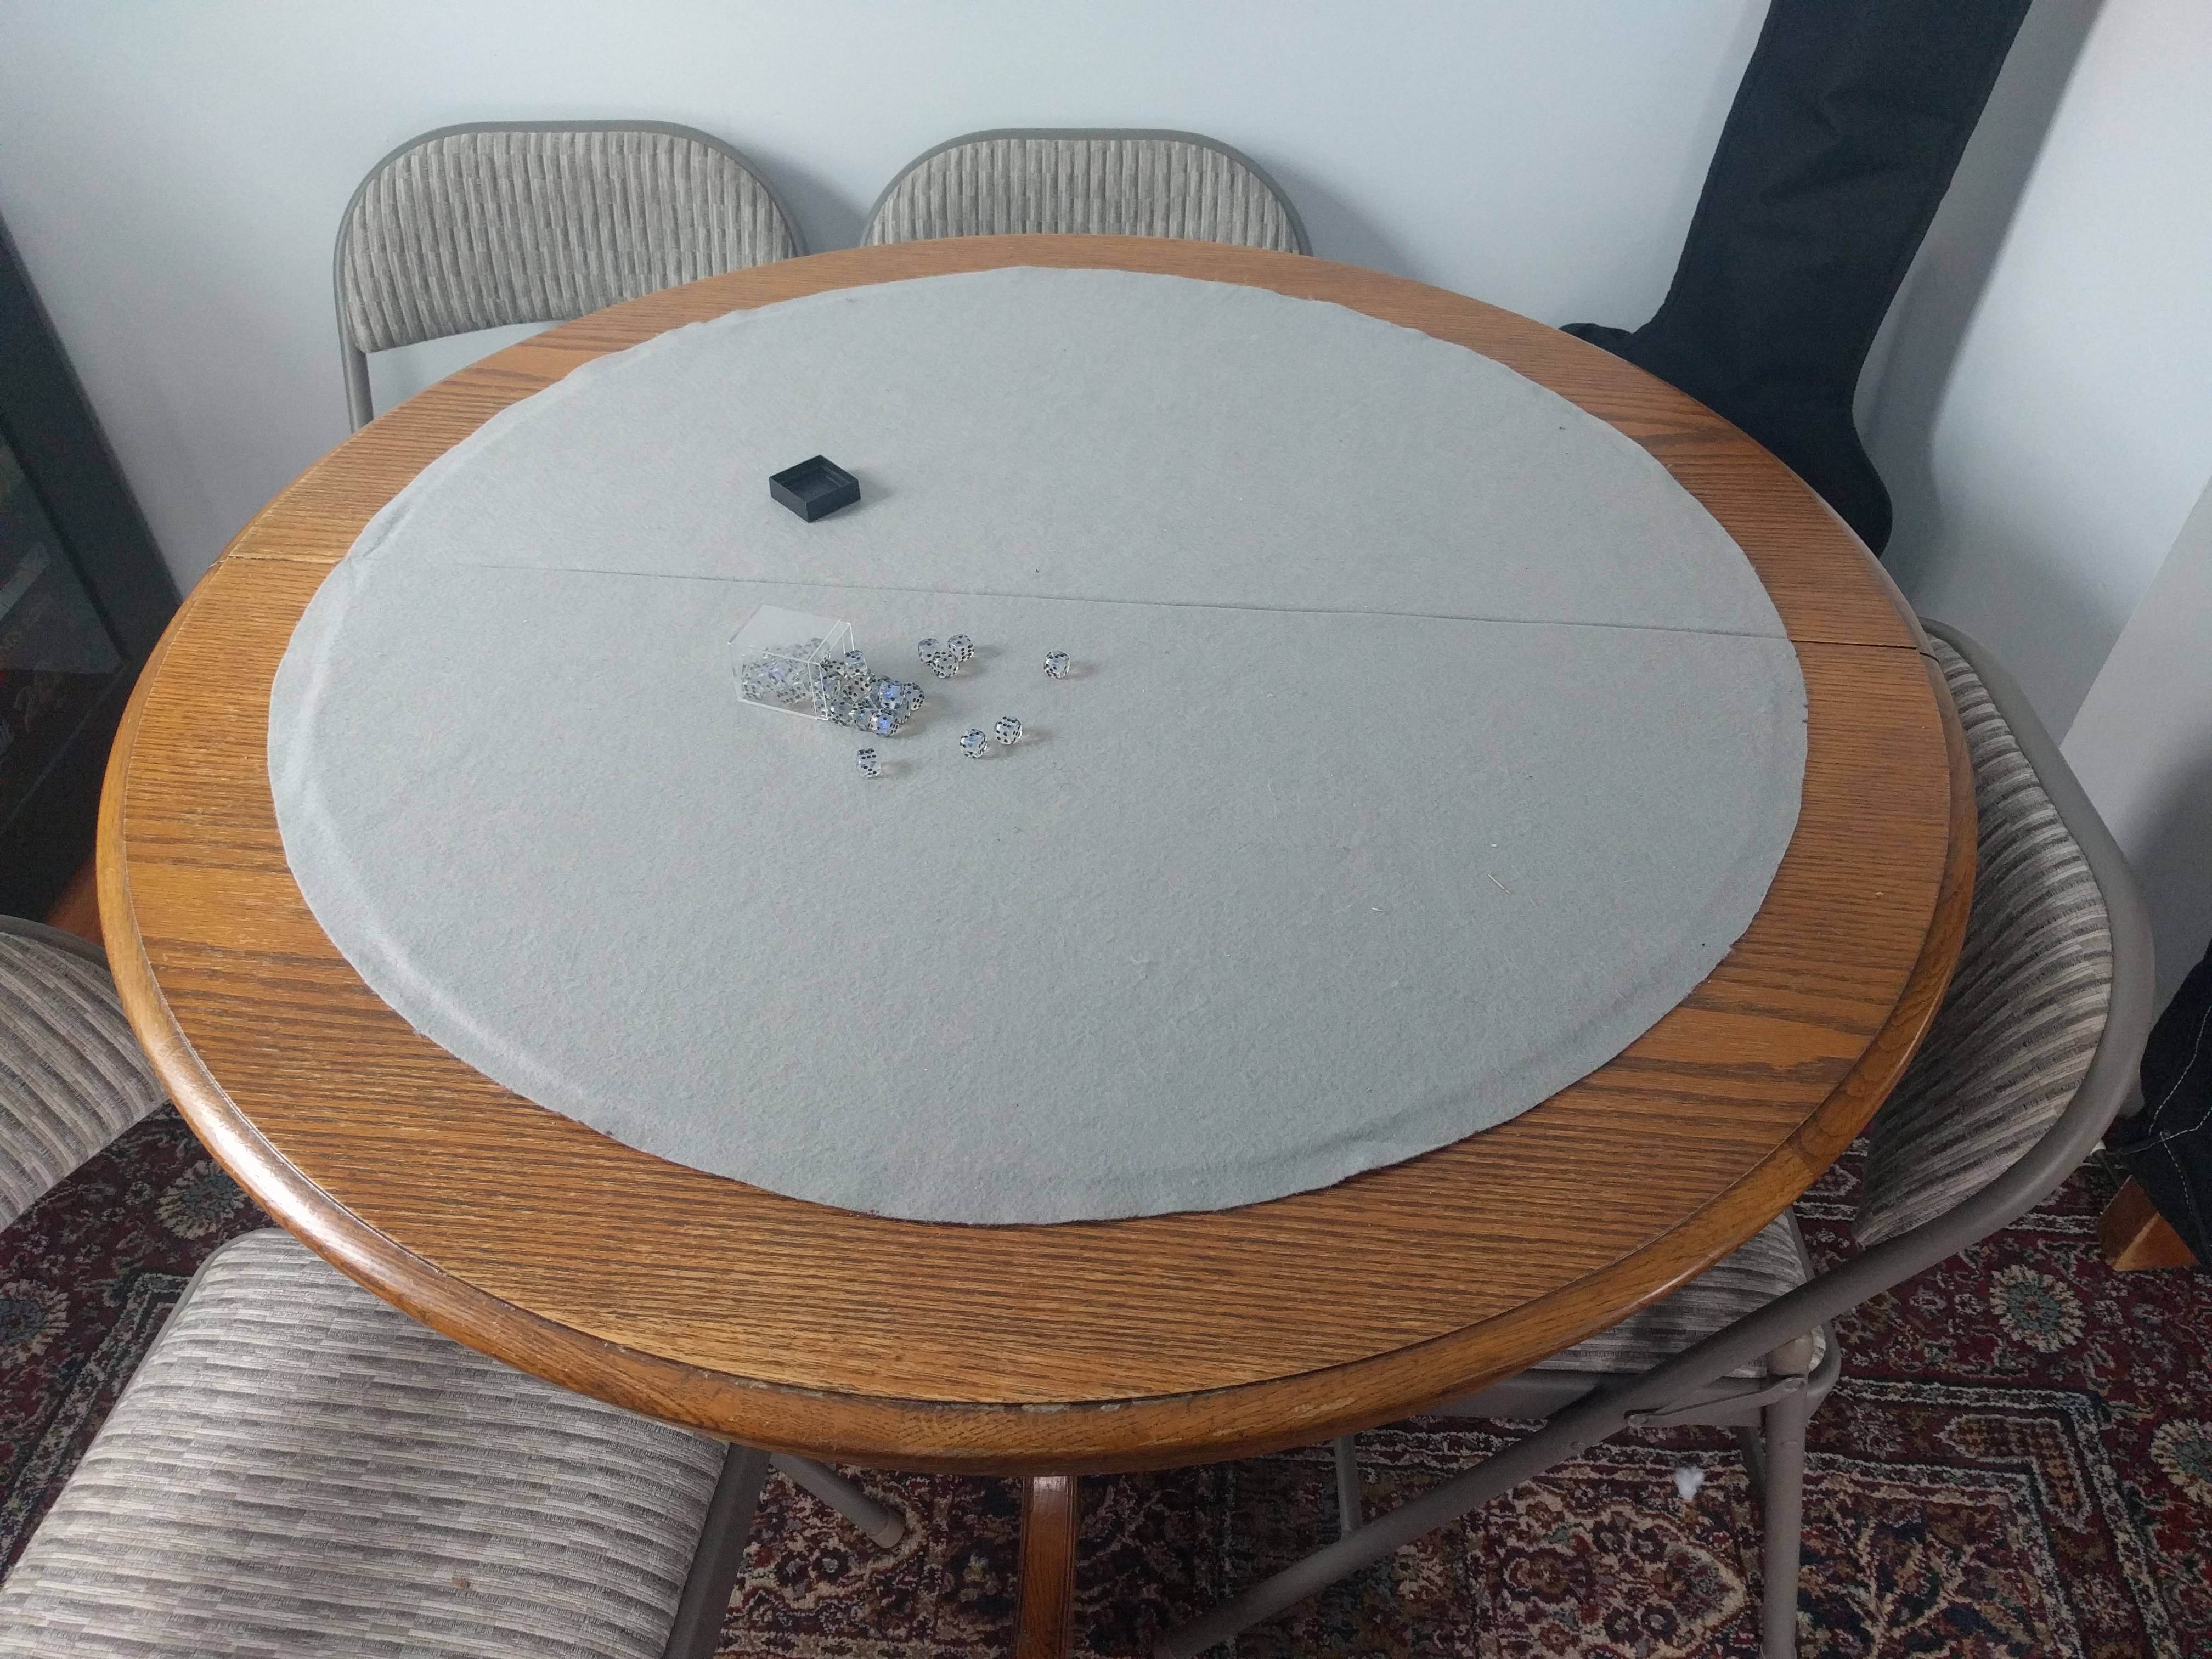
It’s hard to tell from the pictures, but in the middle the felt is actually secured to the table in the middle and hooked into the pegs that help secure the leaf. Eventually I’ll add a felt backing to the leaf too so that it matches the rest of the table. For now I just have a lovely round game table. I hope this inspires someone else to make their own!